
Cj24
Members
-
Joined
-
Last visited
Everything posted by Cj24
-
 Only on new vehicles, all Crown Vics have the old Vision.
 -
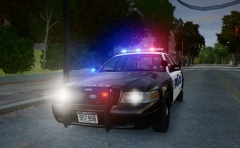
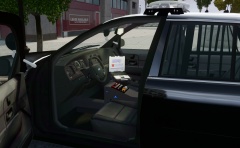
From the album: Cj24's pics
-
 It is indeed. I'll gladly take the offer. If you need any information, feel free to message me. And please take your time, the model will need quite some work as well until it is done. I'm trying to figure out the lightstages currently, I'd be happy if anybody who has more information on that could tell me how they work.
 -
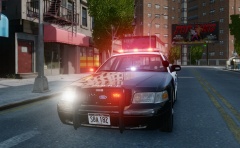
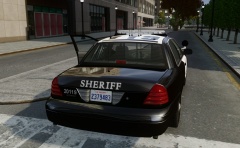
From the album: Cj24's pics
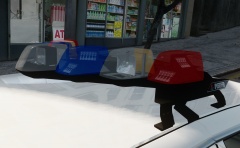
FS Vision made by KevinDV, LEDs and traffic advisor by Kygo, Opticom by Cj24. -
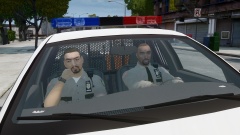
From the album: Cj24's pics
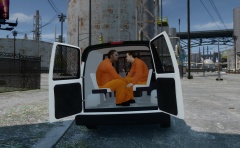
Two Corrections Officers transporting a prisoner to the Alderney State Facility. Changed the uniform color from blue to beige and remapped the glass of the lightbar to allow red/blue colors. -
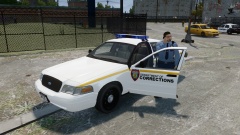
From the album: Cj24's pics
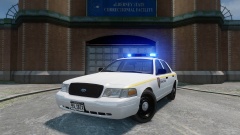
Corrections Officer waiting to do a prisoner transport in front of the Alderney State Facility. -
From the album: Cj24's pics
More pictures and information: https://www.lcpdfr.com/topic/1398-cj24s-modifications/page-22#entry286969 -
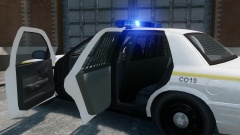
Just tested it, it works absolutely fine: As visible in the picture as well, any of the front LEDs of the Liberty can be turned into a steady burn activating together with the secondaries, though this requires a left/right alternating pattern for the amber secondaries. I'll also include ELS configs for different colors and for working steady burns. Update: I added the dashlight and to show there're many different setups possible, I created a NY style setup with red/white in front and red/blue in back.
-
I'm currently working on a new version of my old LCPD pack ('?do=embed' frameborder='0' data-embedContent>>), using new equipment and a new livery. The CVPI is in progress right now: More pictures of the car can be found here: http://imgur.com/a/duh7z The setup is including more interior equipment like a console as well as a few more lights. It is very customizable, decklights, grilllights, mirrorlights and a dashlight can all be removed seperatly by simply replacing a texture. Textures for all blue, all red and red/blue lights are included. An alternative .wft file without rambar will be included as well. The models itself are also more accurate, KevinDV's Liberty and TIR4 grill lights for example are way more detailed than the models used in the old pack. Most of the car models have been updated and improved in the meantime as well. Yet, I don't know exactly what cars I'm going to include, the current plan is to release the CVPI together with one other car and later update the pack to add more. It depends on the interest, but if it's as popular as the old one, I'll try to create as many cars as possible.
-
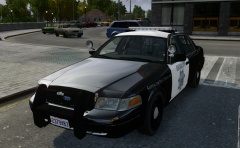
From the album: Cj24's pics
More pictures and information can be found here: https://www.lcpdfr.com/topic/1398-cj24s-modifications/page-22#entry286969 -
From the album: Cj24's pics
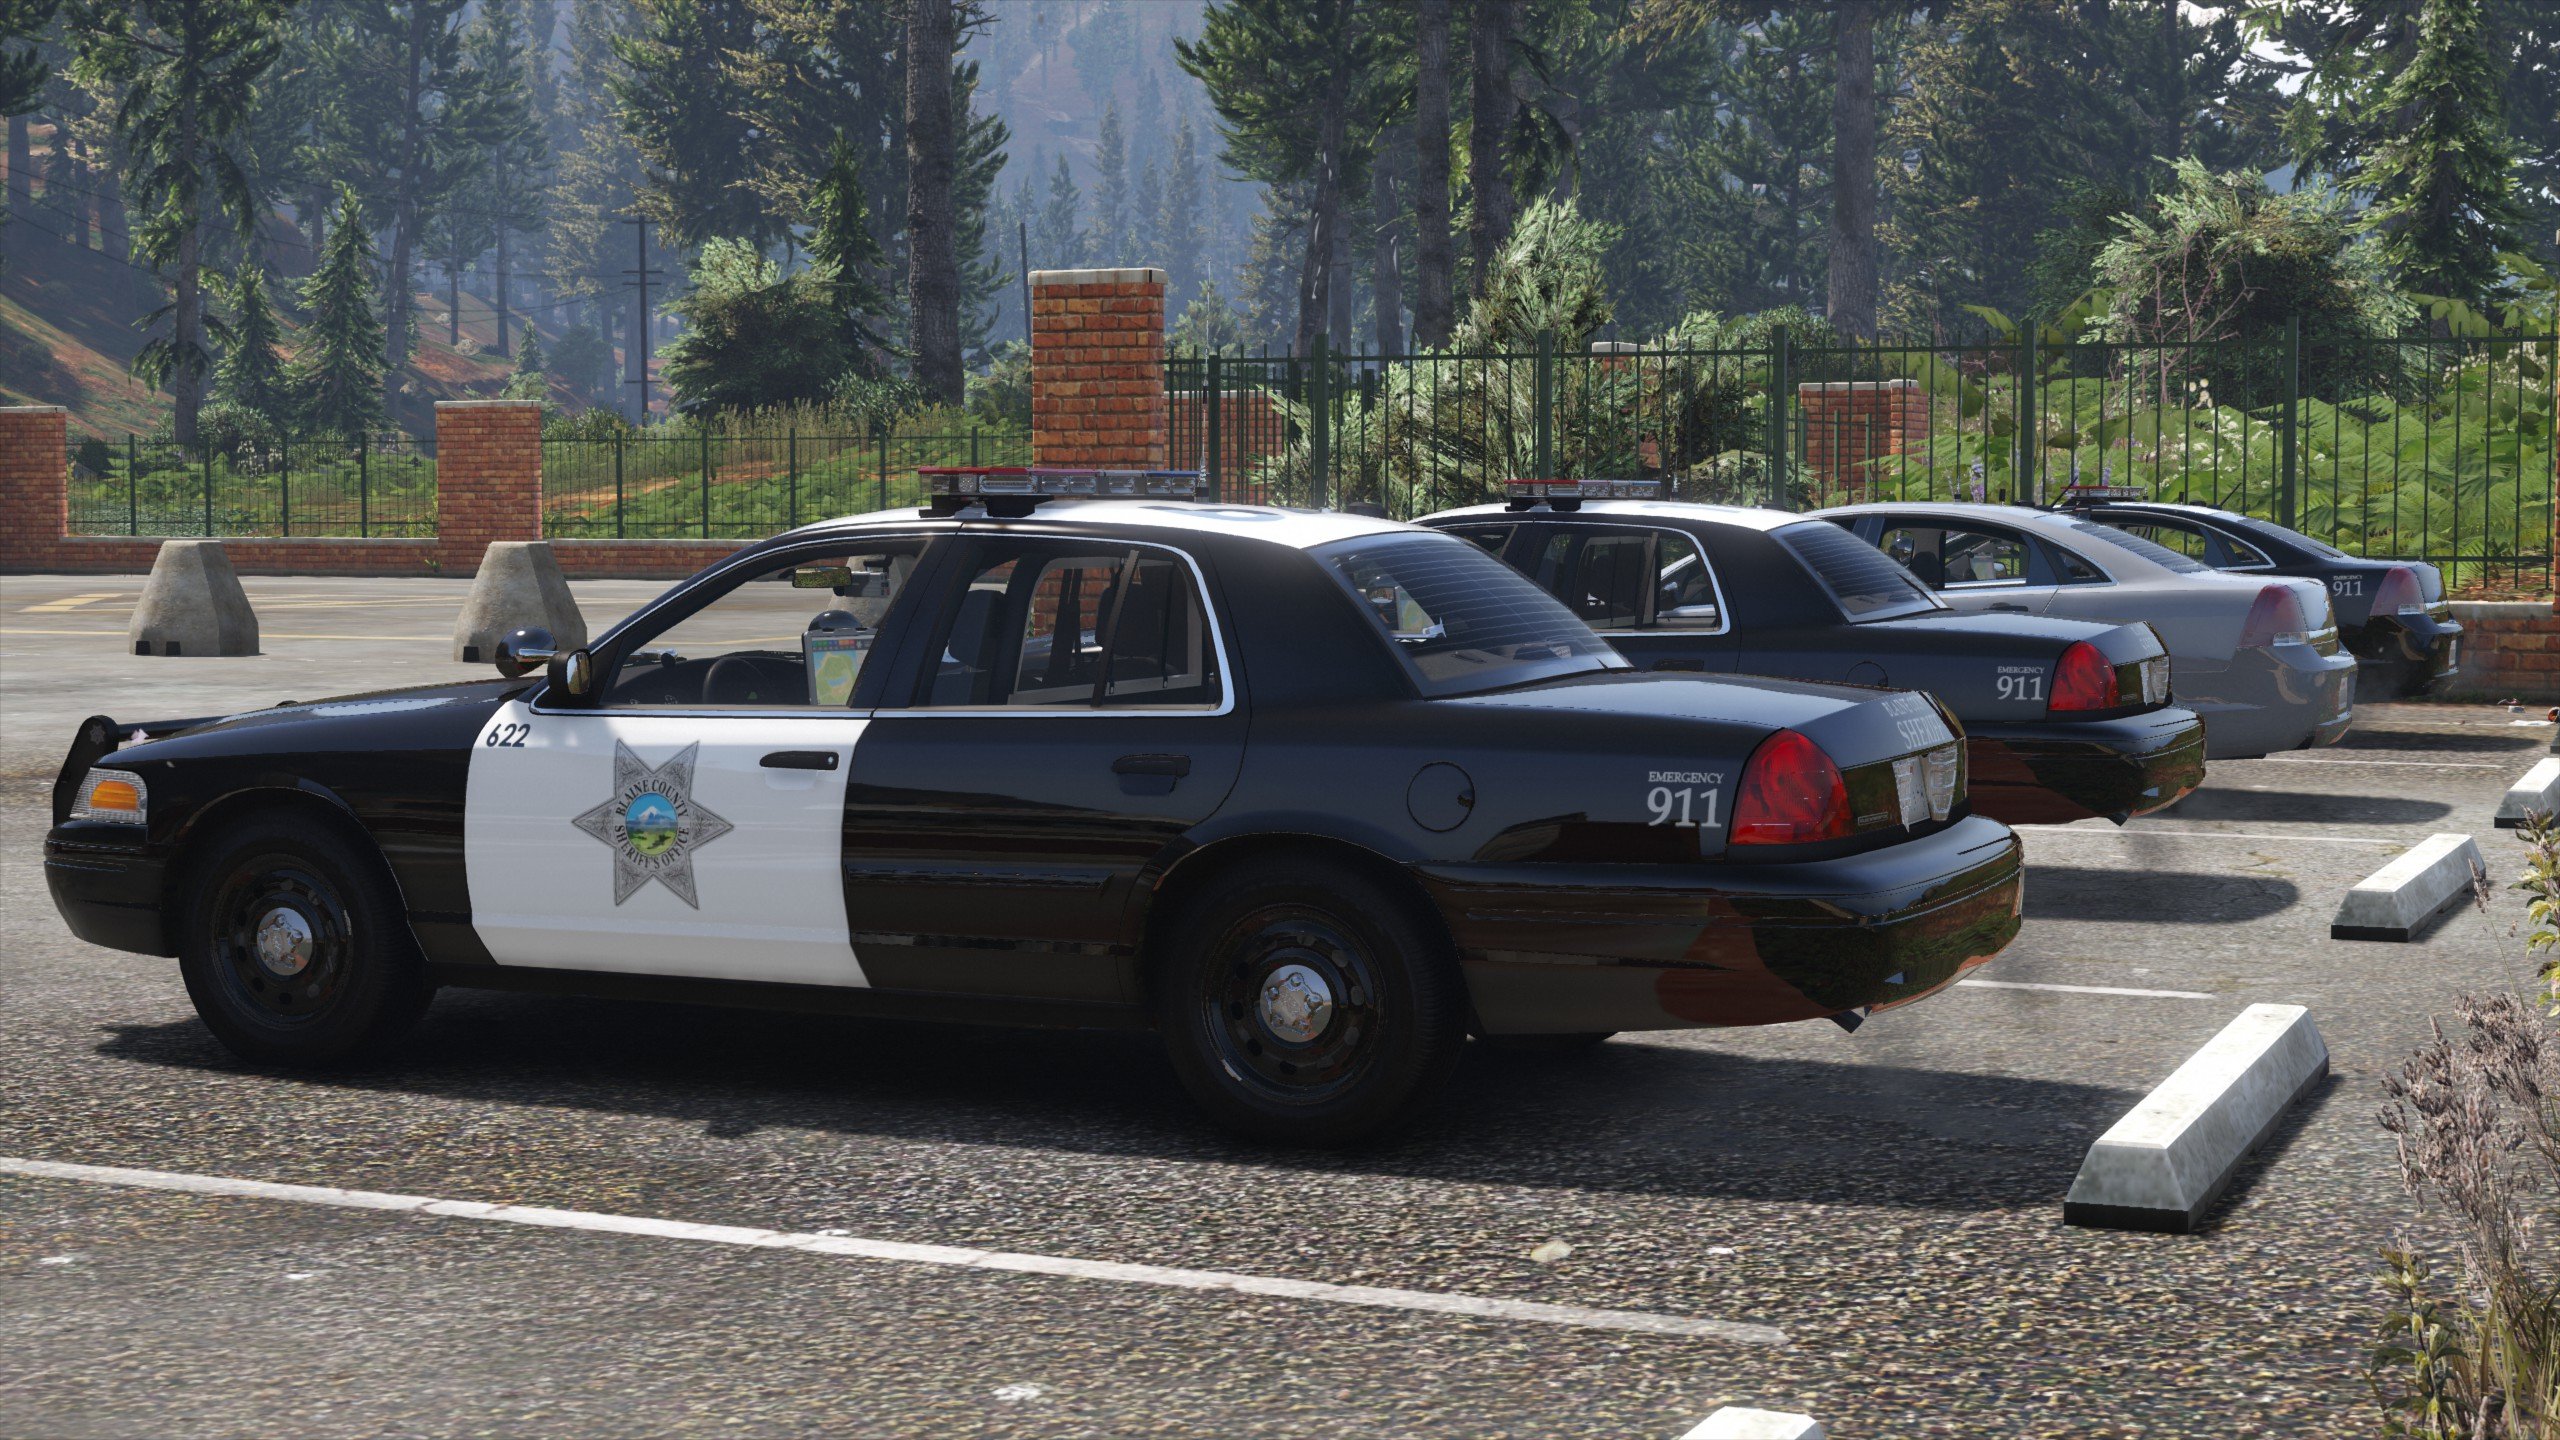
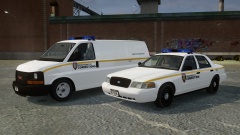
A pack featuring a GMC Savana and a Ford Crown Victoria, both with KevinDV's Whelen Edge and equipment for inmate transport. -
From the album: Cj24's pics
A GMC Savana, also using KevinDV's Edge will follow soon. -
From the album: Cj24's pics
A GMC Savana, also using KevinDV's Edge will follow soon. -
This thread explains how collisions are supposed to be set up and this thread in what way LODs are relevant for vehicle damage. As long as you have proper LODs, it doesn't matter whether your L0s are high poly.
-
From the album: Cj24's pics
-
Looking at the file size of the car, the graphic bugs are likely caused by high poly parts. You should try to attach high poly models to parts with less polies, that might fix it. It's indeed a bug that does not necessarily happen for everybody but usually for most people.
- 24 comments
- 11 reviews
-
-

- 1
-
-
A pity you only replaced the patches on a reskin of a default model, which is just an unedited Rockstar Games model by the way. Many countries have different uniform models and even different colors. Many nothern coutries for example use dark blue shirts, Bavaria and Saarland still use green. Bulletproof vests are rarely used and I've only seen this style of jacket in BaWü. Great idea, but the realization could be better.
-
 A sightly improved version of the already released SDSO Crown Victoria, the original request can be found here. Installation Use SparkIV or OpenIV to import the police.wft and the police.wtd into GTAIV\pc\models\cdimages\vehicles.img. Copy the provided “sdso.ini” into the GTAIV\ELS folder and replace the “file” line value associated with the model in the “_SLOTCONTROL.ini” with sdso and ensure the “status” value is on. Files included police.wtdpolice.wftReadmeTemplatesELS ConfigPicturesTerms of use You may replace or edit texture and redistribute modified variants of this modification as long as correct credits and a link to the original download are provided. You may not circumvent any protecting measures to edit models or use any of the work included in this archive for your own financial gain.
- 14 comments
- 5 reviews
-
-
- 1
-
-
It's public. Since it's done, there you go: https://www.mediafire.com/?xaoq95ufcp2ya85 If there're any issues or other inaccuracies just post in here, I'll see what I can do then.
-
I've finished my own skins now and added the antennas. Unless there's anything else you'd like to have added or changed, it should be ready now.
-
From the album: Cj24's pics
-
From the album: Cj24's pics
-
From the album: Cj24's pics
-
The guns and the badge are no problem, that's already fixed. The antennas are technically no problem either, although I used the same setup I've seen on all of the pictures I found, for example, >this, >this and >this. Are you sure their recent vehicles use the setup you showed? Concerning the models of the antennas, I'd rather stick to those I'm using currently. The quality is almost the same, yet they are not as high poly as those. If you'd like to work on a skin, the template I'm using is included for example in >here. I guess I'll try to continue to work on my skin anyways, though we'll see.
-
Pattern 17 has the same flashing speed like the one I'm using, it wouldn't make a difference with that car. Basicly two of the possible extras are used for LSTG2, in LSTG3 the other two are used for the complete lightbar. I just took a small video showing all of the pattern: So far I haven't continued to work on the skin, I believe everything else works fine now.