.png.21c42c10539be5c9a4695b9f1f08fd95.png)
cherryaerie
Members
-
Joined
Everything posted by cherryaerie
-
This part isn't needed, fortunately. Thero has his configured to still replace the in-game vehicles, while a lot of other creators don't. Though I appreciate you clarifying on the SSLA part 🙂
-
If you are still confused by what I mean by ELS, please send a screenshot of your main game directory from the top of the screen. Microsoft .NET Framework 4.6 Visual C++ Redistributable Packages for Visual Studio 2013 Microsoft Visual C++ 2015 Redistributable Update 3 RC
-
You're all fine, like I said before I volunteer my time to help people as I know how difficult it is at first. Have fun modding and let us know if you need help with anything else 🙂
-
When you download ELS, yes, it will be placed into the main game folder. The ELS files from the pack you download will be placed inside the ELS folder within the "pack_default" folder inside of it. In other words; Download ELS and place it inside the main directory. You should have a ELS folder in there now. In the main directory go into the ELS folder and into the pack_default folder inside it. Take the files in the "ELS files" folder from the car pack (several XML files) and place them in the pack_default folder. If it asks you to replace, replace it.
-
No, you're fine, between dealing with 2 of my own kids and typing this out, it just takes some time to type out. I have also forgotten to mention that you will need to enable tools for ASI plugins. In OpenIV, go to the "tools" tab and open "ASI Manager". Click install on all 3 and click save. For Resource Adjuster, all files (except the read me) will go into the main game directory. Siren Setting Limit Adjuster is not required and will not function unless you have a car that needs this, but will be installed to the main game directory. For Thero's State Wide Services Pack, as all addon packs, follow; As Los Santos Protection Squad is a really old plugin so I cannot guarantee it will work unfortunately, but it it has a readme inside it. Just open the main game directory and drag and drop the "lspdfr" and "plugins" folder from the download into the directory. If it asks you to replace anything, you can safely replace it. As for your vest textures, there are a few that match this title. Unfortunately, I am not familiar with the pathway for male characters to replace a single texture, and the one I found doesn't provide information beyond the texture name. If anyone happens to read this and knows, feel free to let him know as I cannot answer that confidently. To install EUP and EUP Packs;
-
Replace is ideal if you want AI to drive them instead of the vanilla cars, but you can use an addon if you so please, it is just a different installation process between the two.
-
You are right. From here, you have the basics installed. Since you were wanting to install vehicles, let's get that out of the way. Can you link the vehicle(s) you had in mind for installing?
-
There are a few that are "fire", it's really up to personal preference though, and how you would like your game. Someone has a community post of some plugins for newbies you can try out here. I personally run a lot of plugins in my game, so its difficult to refer plugins to someone in general unless I know what they are looking for.
-
You're fine. In the main directory outside of OpenIV, you will see a folder called "update". Click this so it is highlighted. You can click the copy button (indicated in the screenshot below) or click CTRL+C to copy it. Open the mods folder and click the paste button or CTRL+V to paste it. Alternatively you can also right click -> copy and then right click -> paste if you are still confused by any chance. Your UI may appear slightly different depending on if you are using Windows 10 or 11, but it is the same method regardless. Also, mind all the other files/folders here, you will not have all them right now unless you install the same mods.
-
If you are using Native Trainer, I recommend removing it in its entirety. Install Simple Trainer as a replacement as it's much simpler to navigate. It's also much more commonly used. The default for opening this is F3 and F4, but you can change it in the trainerv.ini file located in the main directory. Some housekeeping things to save you time are to install Modified Game Config, HeapAdjuster, and Packfile Limit Adjuster. HeapAdjuster and Packfile Limit Adjuster will go into the main game directory. Your game config will need to be placed in OpenIV. To do that, open OpenIV and navigate to update -> update.rpf -> common -> data and click the "copy to mods folder" button on the top of your screen (make sure you are in edit mode). Navigate to the same pathway in the mods folder and drag and drop the gameconfig.xml file from your WinRar archive to OpenIV. To know that it was successfully replaced, it will show "compressed" instead of "compressed; encrypted;" as it is your first time installing them. You do not need to load games to make sure that they work as they are prerequisites for the future, but you can if you would like. Also if you would like to, you can go to the main game directory and copy the update folder into the mods folder as it may save you time in the future but also takes up space. That's entirely up to you so you don't need to go copy each pathway each time you want to install something.
-
Exception message: The 'Vehicles' start tag on line 1000 position 7 does not match the end tag of 'VehicleSet'. Line 1072, position 7. The file you edited is missing a tag. You likely need to add the same "vehicles" entry you have at line 1000 to line 1072 as a new line. Do not replace "VehicleSet", rather add it as a new line.
-
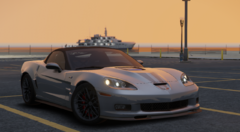
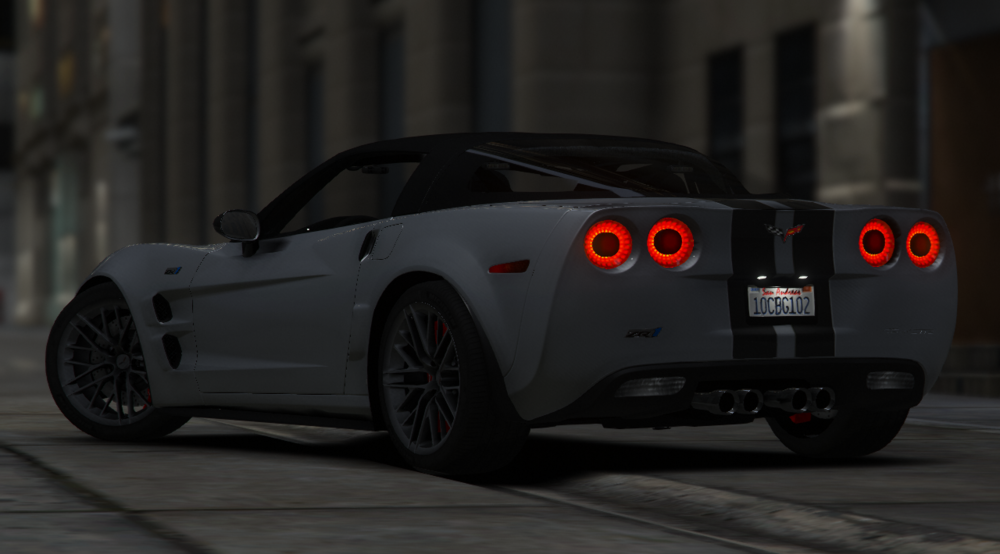
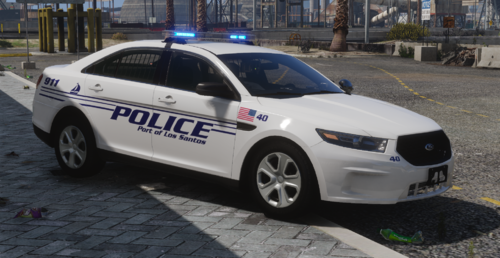
From the album: Random Unmarked / Undercover Units
-

From the album: Random Unmarked / Undercover Units
-

From the album: Random Unmarked / Undercover Units
-
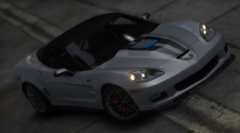
From the album: Random Unmarked / Undercover Units
-
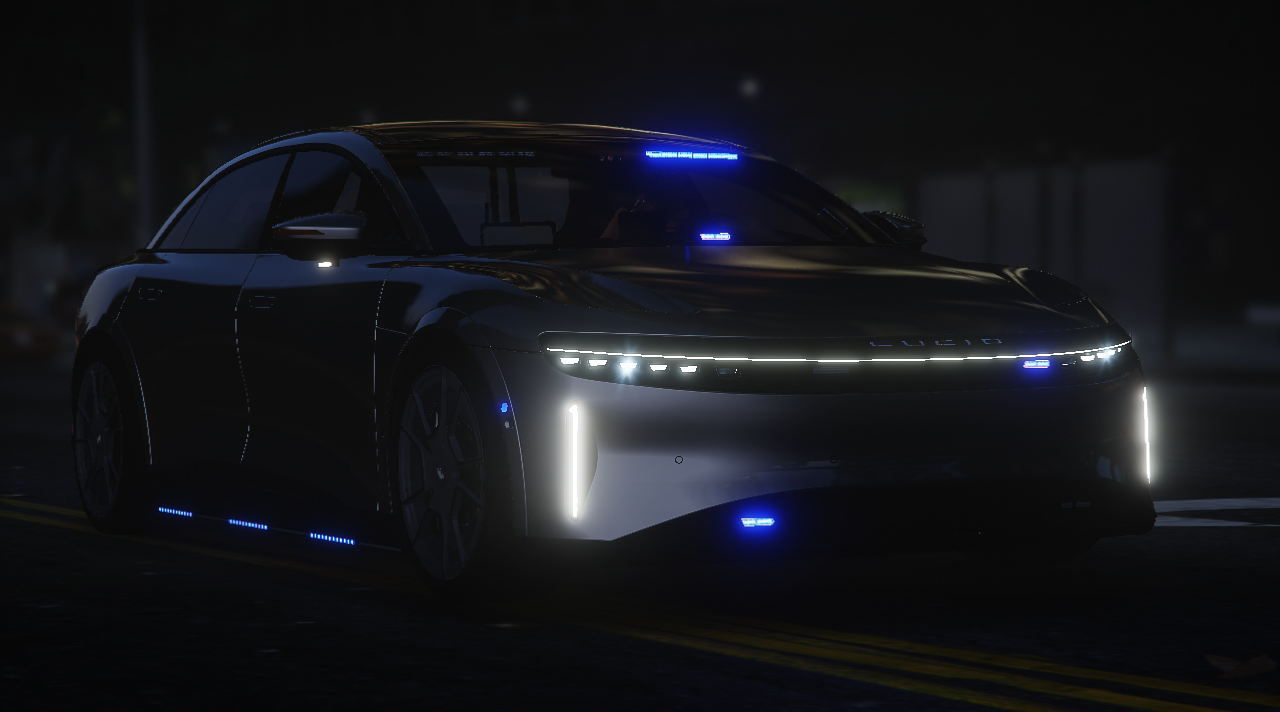
Bringing back an oldie, but as an unmarked police car, because I can.

-
If your game does not work, its likely because of that file. I recommend uninstalling that and trying to run the game again. If it works, it is that file, if not, it is something else in your mods folder.
-
No, especially not in Compulite/StopThePed. Though a little birdie I heard from might be changing that in the coming months 👀
-
Attach your RagePluginHook.log as a file in a reply. This file is located in the main game directory.
-
Let's start with removing FiveM. I don't know where you heard that, but FiveM is completely irrelevant to the installation and modding of LSPDFR. FiveM also does not work alongside LSPDFR, so here lies your first problem. For clarification purposes, if you have not already, locate your main game folder. You will be referring back to this a ton. This folder is located wherever you installed GTA. This pathway is for steam and may be slightly different for you; C:\Program Files (x86)\Steam\steamapps\common\Grand Theft Auto V While you are at it, in that folder, create a mods folder. Create a new folder by clicking the empty buffer zone to the right and clicking new folder. If you already have one, I ask you to delete it and I will guide you through redoing this. I want to ensure that everything is working for you before installing mods. Ensure you have the basics installed. Download the manual installation of LSPDFR and drag and drop the files into the main game folder. Also, install ScriptHookV into the same folder. If you would like to, you can add a shortcut to the desktop by right-clicking RagePluginHook.exe that you installed and add a new shortcut. Locate the lspdfr.ini located in the lspdfr folder and change Main.PreloadAllModels = true to Main.PreloadAllModels = false (also saves you a headache in the long run) Launch RagePluginHook.exe and hold your left shift key for about 10 seconds to bring up the settings menu. In this menu, change your PluginThresholdTimeout to 60000 (this will save you the headache in the long run). Go to the plugins tab and select either Load these plugins on startup or load all plugins on startup. The only difference is load time and needing to manually load/unload the plugins you want to play with. Save & Launch from there using the green button on the bottom right. Ensure the game loads and you can go on duty from there. Let me know if you are successful, and if you aren't, go back to that folder and provide the RagePluginHook.log in that folder. I apologize if it seems like a lot, but welcome to modding!
-
 Yes, if the model you are replacing has a +hi/_hi for the texture that contains a file along the lines of "sign" or "livery", you will need to replace those files.
 -
Welcome to modding, the ever-so-chaotic universe for newbies. Anyways, are you asking for help regarding FiveM or LSPDFR? You've mentioned both in your message, I can't be of any help with FiveM. If you're asking about LSPDFR, what point are you with modding your game? What do you currently have installed that is not working as you expected?
-
Immersive Ambient Events, Super Events, and Ransom Ambience are all mods that will give you ambient events throughout the map. Likewise, Riskier Traffic Stops will allow for a variety of outcomes to traffic stops, instead of it being the same routine over and over again.
-
As far as I know, yes, it will work in your game as long as it is installed correctly. I haven't seen anything regarding it not working, so the best I can say is give it a try. It is also relatively difficult to tell since there are no recent comments that are not likely user error.
-
Some models have them, it's just a matter of finding one that has them enabled. I am more familiar with ELS models having them, though it's not impossible for a non-ELS/DLS model to have them, I am just not familiar with how that works. If you are using ELS and have a model that uses it, it is the ] key on your keyboard. You will hear an activation key regardless of whether the model has it enabled or not.
.thumb.png.2dde6de0042b025b695ed82f6d2c1e50.png)