


KLE0
Insiders
-
Joined
Everything posted by KLE0
-
Do you happen to have the GeForce Experience overlay? If so, disable it... It messes with the script hook for some reason.
-
-
 Nice, I'm glad you got it working! I'll see what I can do. No promises though 😄
- 71 comments
- 16 reviews
-
Thank you! I posted some steps for replacing sheriff2 in the comments above yours. I'll probably provide an easier to replace package in the future since many people are looking to replace the sheriff2 slot. As for the partition/prisoner cage, it's not my top priority but I may add it next time I got a chance to work on this model.
- 71 comments
- 16 reviews
-
I might consider making a mod to simplify the process of utilizing custom carcols. Are there any other reasons you prefer 100% ELS this strongly?
- 71 comments
- 16 reviews
-
You can't just replace the file itself. To make it a replacement of sheriff2 you'll need, in a nutshell: - Open the included vehicles.meta and replace all four "policeold3" with "sheriff2". Then copy content between (but not including) <InitDatas></InitDatas> tags and replace the similar "sheriff2" entry that's in your stock vehicles.meta. - Open the included carcols.meta and copy the added light setting entry between "<Lights></Lights>" and add (i.e. append) it to your stock carcols.meta, also under the <Lights></Lights> tags. Do the same for the added siren settings under <Sirens></Sirens> tag. - Open the included carvariations.meta, replace policeold3 with sheriff2. Copy the content between (but not including) the <variationData></variationData> tags and replace the similar sheriff2 entry that's in your stock carvariations file. - Open the included handling.meta, again replace policeold3 with sheriff2. Copy the content between (but not including) <HandlingData></HandlingData> tags and replace the similar sheriff2 entry that's in your stock handling file. Basically you will need to add new light and siren settings to your stock carcols, and replace everything else with the provided/modified version. Just be careful to replace apples with apples and you'll be fine.
- 71 comments
- 16 reviews
-
I know all ELS makes it easier to install, but I'll have to sacrifice stuff that I really don't want to, such as the mirror lights won't be able to move with the doors or drastically changing the lighting patterns.
- 71 comments
- 16 reviews
-
-
-
-
The TRAF group affects the amber TA lights in the light bar, it won't affect the lights inside the car. Do the lights in the pushbar work? If they don't work either it's most likely the carcols not working correctly. How did you install the car?
- 71 comments
- 16 reviews
-
Sorry, I forgot to mention: If you want to replace the default one, you will also need to delete Livery_sign_1.png from policeold3+hi.ytd
- 71 comments
- 16 reviews
-
Find the livery in "bonus liveries" folder. Rename the one(s) you want into Livery_sign_#.png where # is the number of that livery you are using. If you want to replace the default BCSO livery then rename it to Livery_sign_1.png so it will overwrite it. To add as additional ones, use subsequent numbers. With OpenIV and Edit mode enabled, navigate to where you've installed the vehicle. The default is GTA V/mods/update/x64/dlcpacks/policeold3/dlc.rpf/x64/levels/gta5/vehicles/vehicles.rpf Open policeold3.ytd, then simply drag and drop the livery into the file list to add it. Confirm it's added. Please note that the liveries must follow the same naming convention and there must not be gaps between the numbering for it to work correctly.
- 71 comments
- 16 reviews
-
Thank you, I appreciate it. I will add the partition along with rear window bars if I can find/fix some good-enough looking DEV parts. 🙂
- 71 comments
- 16 reviews
-
-

- 1
-
-
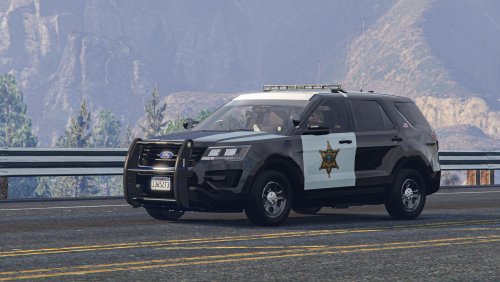
 Pros - Very comprehensive pack with a lot of vehicles, some rarely done before - There are different options such as pushbar/no pushbar - Realistic exterior antenna placements Issues - The texture files are huuuuge. Most ytds are above 15MB and this is going to cause a lot of texture loss for players. You should probably optimize textures that come with DEV parts since in most cases they are oversized and there is little to none discernible difference if you downsize them. In my experience 512x512 should suffice for smaller interior equipments and sometimes even 256x256 works fine, even when playing in 4K. I also see a tendency of overusing A8R8G8B8 compression which is contributing to your ytd size big time. When they are used, it should be only with small textures (128x128 and below, ideally). - Likewise, the model file size and poly count is an issue for this pack. For instance the _hi model of the 14 Charger is 15MB and has 321k polys (says OpenIV); L1 has 319k poly. L0 should have fewer polys, and L1 should be much smaller than L0 (not only a merely 2k difference). I think there might be a bug somewhere since these numbers don't look normal to me. - The forward facing lights from the lightbar are obscured and become very dim when the vehicle is dirty. Likely a dirt mapping issue? - Other texture issues such as the laptop's emissive being too bright (it looks like a light bar inside of the car even during the day), and the top glass of the Arjent lightbar too opaque (you can barely see the honeycomb underneath it). These can be fixed by anyone if they so choose but thought I'd just let you know. - Finally, in the realism department; my only real complaint is the lighting setup. The Arjent's patterns for stage 1 and 2 are incorrect --- no front lights should turn on at stage 1, and the rear amber modules also use a different pattern IRL. The lighting pattern for the slicktop FPIS is also pretty far from realistic (I understand it's very hard to replicate due to limitations of ELS, but it should be possible if you utilize non-ELS lights for stage 3). It's a very promising pack with a lot of potentials, but it does need some more work mainly in optimizing the textures and model size. It'd be nice if you can get the patterns right, too. I'd be happy to update my review and rating once the issues are addressed.
- 161 comments
- 24 reviews
-
-
- 5
-
-
Thanks. I do have some unfinished FPIS and Tahoes laying around but they are pretty far from done... I may release those once I have time to work on them more.
- 71 comments
- 16 reviews
-
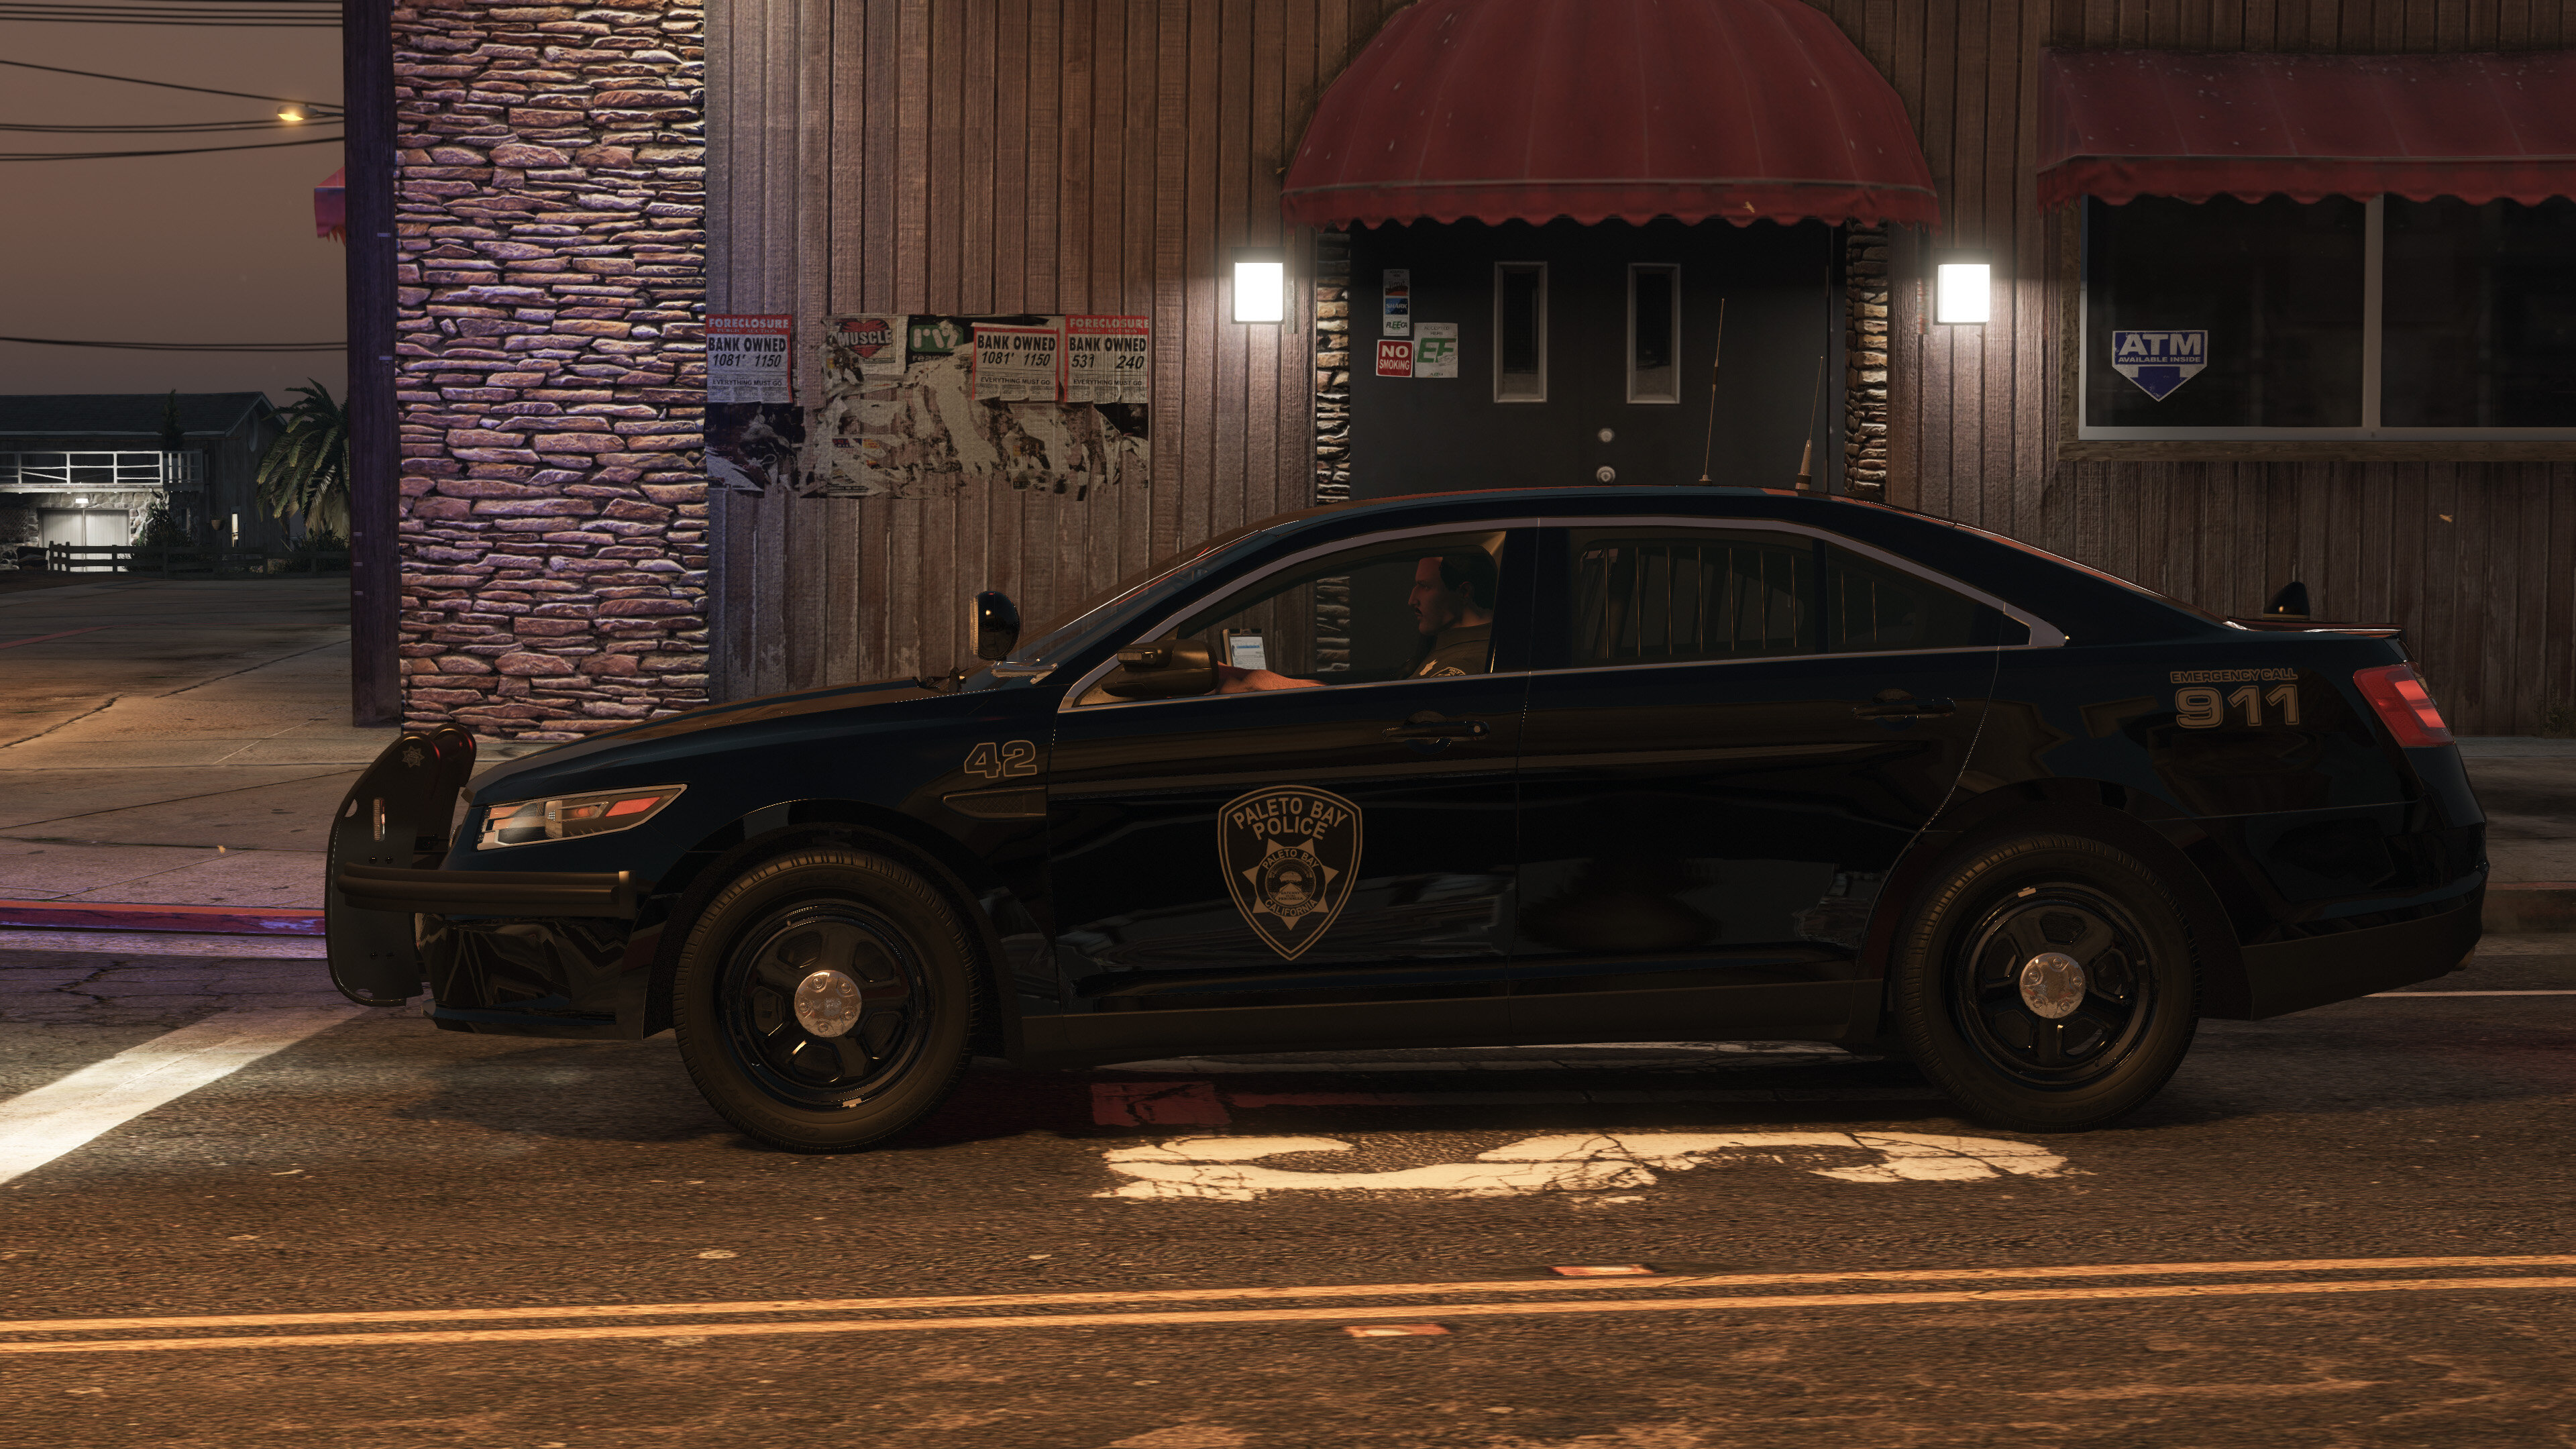
Features - Full 3-stage lighting with traffic advisor, take-down and cruise modes. - Two lighting options - default with rear red/blue and a California style with added rear amber flashing at stage 3. - Three variations including no pushbar, pushbar only, and pushbar with a fender wrap. - There will be lights integrated in the pushbar if it is spawned; otherwise the lights will be inside of the factory cut-out of the interceptor grill. - Breaking glass, working dials, pushbar collision, wobble antenna and bullet resistant windshield. - The coronas are setup correctly so they help in env lighting and make the lights look better from afar, especially at night. - Template included. PLEASE NOTE that this is a ELS/non-ELS hybrid vehicle which means it requires custom carcols/carvariations for the lights to work properly. For ease of installation I've provided a DLC pack for the policeold3 addon slot. This setup is required in order to have correct environmental lighting and the designed light patterns. More about the model - This model uses a hybrid of ELS and non-ELS lights so it can have more realistic patterns while also having the mirror and hatch lights move with the doors. This does mean however it will require a custom carcols to work correctly. For the ease of installation I've provided it as an add-on/DLC to policeold3 slot. - It is possible to manually replace the files and/or replace an existing vehicle. Advisable for experienced players only. - (For non-CA version only) I used the ELS "CHP" lighting group for SECL lights (i.e. the traffic advisor) so the player can cycle between left, right and center-out modes very quickly. If preferred, you may change the VCF to use "TRAF" lighting group instead for more TA patterns. - It is possible to prevent any of the pushbar variations from spawning by editing vehicles.meta. Instructions are included in the download. - Four additional bonus liveries included (see the last screenshot). Please note that they need to be placed into the ytd file. - The BCSO livery is based on Orange County, CA. The vehicle setup is fictional but draws inspiration from SFPD. Acknowledgements - See Credits tab for general credits. - Black Jesus for the BCSO door decal in the livery. - Special thanks to PNWParksFan for his Live Lights plugin which makes customizing and debugging siren settings much easier. What's Next Kane is currently working on an update of the base model, thus I am holding off updating this vehicle until said update drops. The next version will feature a partition, brand new equipments, more realistic light patterns and a lot of bug fixes. Permissions - You MAY modify and re-release the liveries without my permission. Crediting is appreciated but not required. - You MAY NOT upload this mod to other websites or redistribute via other channels without my permission. - You MAY NOT, in any circumstances, use this model for your financial gain in any way, shape or form.
- 71 comments
- 16 reviews
-
-
-

- 14
-
-
 Yay this will be AWESOME. Thank you.
 -
Hi all, Trying to get my hands dirty with some vehicle modeling but I couldn't seem to find a 11-15 FPIU dev model. Matt's 14 FPIU base seem to be the best but I can't find it anywhere on LSPDFR or Google... Is it not available anymore? Are there still any possibilities to get it? Thanks
-
-
-
-
-
-


