Creators: Due to background reprocessing of files, approvals and file security checks may be delayed. Thanks for your patience.

PoliceDev
Members
-
Joined
-
Last visited
Everything posted by PoliceDev
-
Hey that's easy go back to your light bad center it to parent, and then shrink it and then make sure its shrank down 50 scaling. That is a scaling problem. Usally can fix it by going in carols and setting delta on flashiness to 0.0 scaling to false. Good luck!
-
Not sure if you figured it out, but if you didn't it in visualsettings.dat Have a blast! car.brakelight.day.emissive.on 715.00 car.brakelight.night.emissive.on 300.00
-
 Like this?
 -
Black on what part? the lens or the lightbar its self?
-
-
-
-
Well I am working on modeling a code 3 defender with ion attachments!
-
-
So which one do you want? code 3 makes tons of them Edge® Ultra Freedom® FW WeCan® Series Super-LED® Lightbars Big fan of your work BXbugs Granted its only single modules but that's my spin off that bar. :D
-
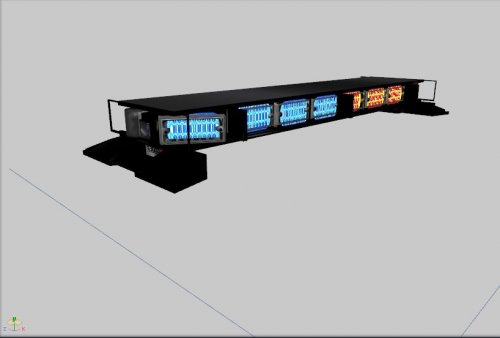
I modeled and created the textures for this light bar its open source ELS ready so have at it. You have any questions just ask its incomplete on the back lights, but you get the picture create new dummy helpers and add extra_ whatever to continue this. Happy modding! Lightbar Whelen Freedom.rar
-
Also made one more discovery, you can completely remove these and it will not break <sequencer value="9595959"/> This seems to work too there is 14 sirens however the sequence can only go up to 9 so start at the middle of the inputs and end at 9 makes it flash pretty cool! So police car rotatory completely remove flashiness and if you have a leds only remove rotations from each input makes it cleaner. to label it make comments <!--siren1--> like below. </Item> <!-- siren1 --> <Item> <rotation> <delta value="-0.01000000"/> <start value="0.00000000"/> <speed value="3.00000000"/> <sequencer value="4294967295"/> <multiples value="1"/> <direction value="false"/> <syncToBpm value="true"/> </rotation> or if you just have rotators <flashiness> <delta value="0.00000000"/> <start value="0.00000000"/> <speed value="0.00000000"/> <sequencer value="1431655765"/> <multiples value="2"/> <direction value="false"/> <syncToBpm value="true"/> </flashiness> flashiness is for emissive textures, another words its light up textures! This is the glowy dot :) or in game design term the bloom effect! <corona> <intensity value="90.00000000"/> <size value="1.10000000"/> <pull value="4.15000000"/> <faceCamera value="false"/> </corona>
-
Ok lets say the you created a custom made input erased all input for flashes and rotators. The sequence is from 1 to whatever meaning headlights is 1 if you have tail lights that is 2, still researching this, but maybe each headlight represents a single input is 1 and 2 anyways. Its the the pattern what fires off first example sequence 123456 headlight1 then headlight2 tail light and tail light then siren 1 and siren 2, has been working for me so far. to make off a little change the <multiples value="4"/> <multiples value="2"/> 5 and 6 would be siren 1 and siren 2 So easy terms it starts the lights script from 1st input to last I hope this helps!
-
The world doesn't get better, unless someone shares with it. I will keep you informed of any new work! Thx
-
The <sequencer value="434343434444478"/> This is not binary or maybe. Simple terms though siren 4 -siren 3 -siren 4 well anyways you get the picture. The <sequencer value="434343434444478"/> This is not binary or maybe. Simple terms though siren 4 -siren 3 -siren 4 well anyways you get the picture. Its what siren part on your vehicle.
-
Just use notepad ++ to see the file ymt file. You don't need a converter. for all of you that need colors in hex http://www.nthelp.com/colorcodes.htm
-
True, but did you read what I wrote, this. Its not that what he was talking about that will seq that will destroy your code. Another words I am saying you can completely remove all inputs and create your own light pattern at different speeds. Maybe someone discovered carcols.ymt great for them and helping the community. However I am bringing in a whole new way to do lights like the original coders of Rockstar. No one has discovered, that you can actually delete lines and make your own sequence. rotation light <Item> <rotation> <delta value="0.00000000"/> <start value="5.75958600"/> <speed value="0.00000000"/> <sequencer value="4294967295"/> -------do not touch this will break games <multiples value="1"/> <direction value="true"/> this create glow on wall <syncToBpm value="true"/> </rotation> <flashiness> <delta value="0.00000000"/> <start value="5.75958600"/> -----glow start <speed value="120.90000000"/> ----change this for speed <sequencer value="4294967295"/> <multiples value="4"/> <direction value="false"/> <sequencerBpm value="15"/> </flashiness> <corona> <intensity value="90.00000000"/> -----intensity of glow <size value="1.10000000"/> ---size of bulb <pull value="0.00000000"/> <faceCamera value="false"/> </corona> <color value="0xFFFFFF"/> --website link <intensity value="2.00000000"/> off value <lightGroup value="1"/> <rotate value="true"/> --- make rotator or flasher <scale value="false"/> <scaleFactor value="0"/> <flash value="false"/> <light value="true"/> ---do you want light or just a spinning object <spotLight value="true"/> <castShadows value="false"/> ----make shadow show up however gpu intensive. </Item> this is a flash bulb <Item> <rotation> <delta value="0.39269900"/> <start value="0.00000000"/> <speed value="1.00000000"/> <sequencer value="0"/> <multiples value="1"/> <direction value="false"/> <syncToBpm value="false"/> </rotation> <flashiness> <delta value="0.00000000"/> <start value="1.14159300"/> <speed value="60.00000000"/> <sequencer value="2863311530"/> <multiples value="4"/> <direction value="false"/> <syncToBpm value="true"/> </flashiness> <corona> <intensity value="10.00000000"/> <size value="1.50000000"/> <pull value="0.10000000"/> <faceCamera value="true"/> </corona> <color value="0x3333FF"/> <intensity value="1.00000000"/> <lightGroup value="0"/> <rotate value="false"/> <scale value="true"/> <scaleFactor value="2"/> <flash value="true"/> <light value="false"/> <spotLight value="true"/> <castShadows value="false"/> </Item>
-
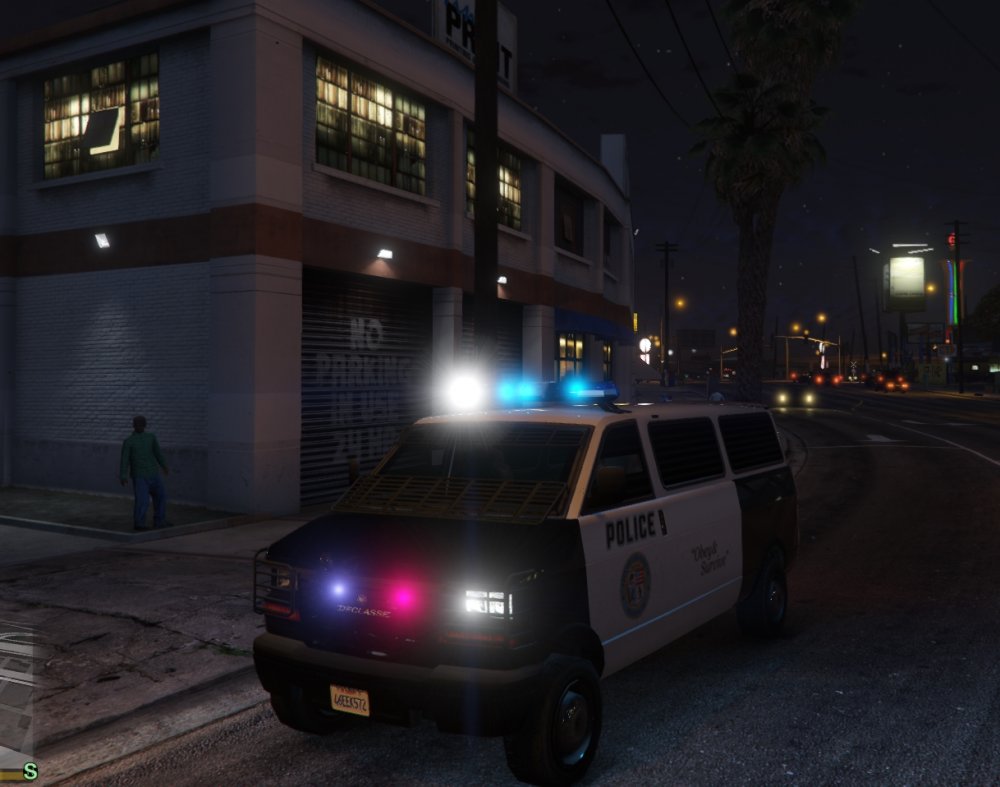
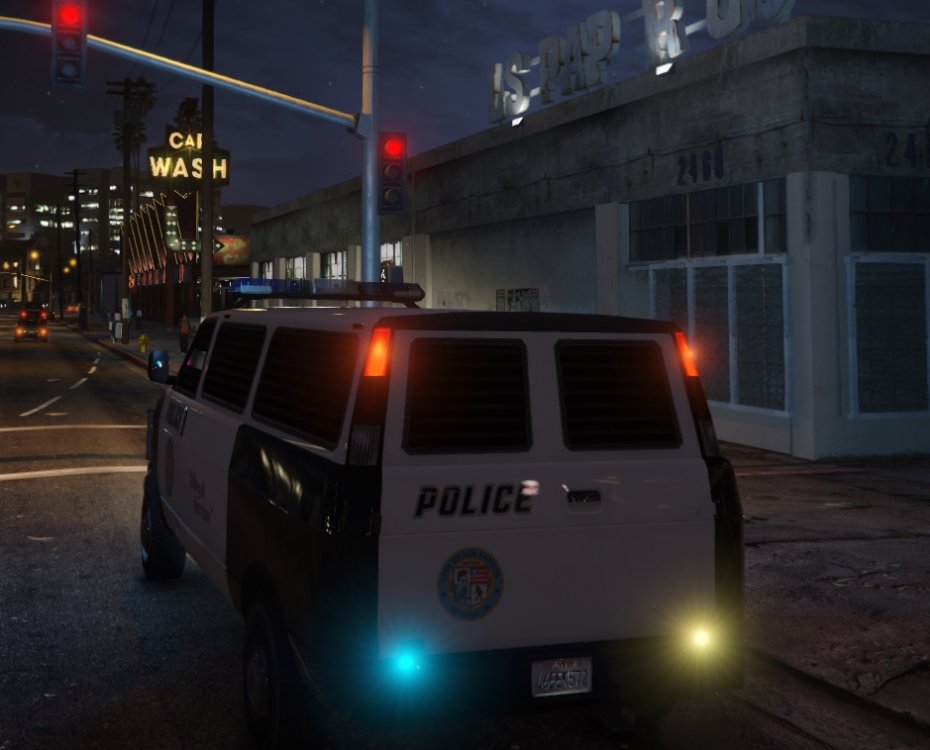
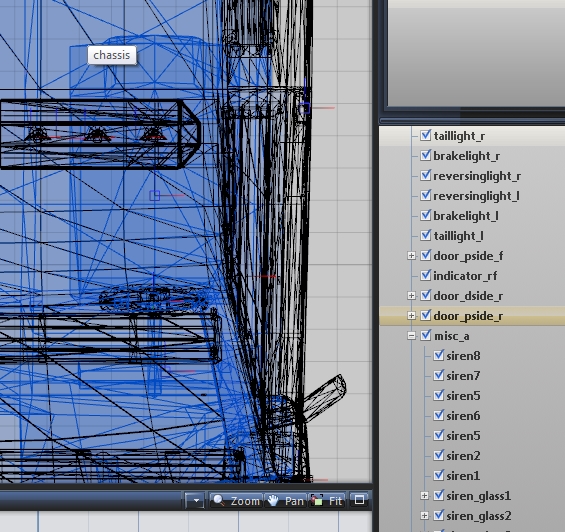
I made a discovery after several years modeling Arma 3 I realized the input the same in the carcols.ymt and the way you setup sirens on a vehicle in zmodeler3 the sirens can be unlimited! example I setup my flashes siren 1-4 however I have rotators on siren 5 - 9. The screen shots are all on the default vehicle of course modded to add more sirens. carcols.ymt can be found in update\update\common\data Top change the colors this website should help. http://www.nthelp.com/colorcodes.htm <start value="1.14159300"/> these are to change flash pattern from faster to slower. <speed value="60.00000000"/> <sequencerBpm value="15"/> this is speed for rotators lights you can add that per input to change for a different speed per individual siren just replace <syncToBpm value="true"/> I am glad I finally got to help this community out, after following for so many years. I am current working on figuring out the lods since I am a actual 3d modeler that can make cars. Happy Modding Any questions let me know. inputlines.txt