


This is how to install the openiv.asi plugin
NOTE: This is not my instructions. (Taken from their site to save you from googling)
The latest version of OpenIV and OpenIV.ASI provide support for “mods” folder that can be very useful in the following cases:
- You have DVD or Rockstar Games Warehouse version of GTA V and every time you edit files Launcher download original files back;
- You want to have original GTA V files unmodified;
- You want to have fast way to switch between original and modified files.
Required software:
- OpenIV (2.6.3 or newer)
- OpenIV.ASI (1.1 or newer)
- GTA V ASI LOADER (build “May 2 2015” or newer)
Instruction:
1 – Download and install OpenIV. Configure it to work with your copy of GTAV.
2 – Navigate to ASI Manager using menu “Tools” > “ASI Manager” or “ASI Manager” button on tool bar.
Through ASI Manager, you can install, update or remove ASI Loader and OpenIV ASI plugins.
3 – Install ASI Loader and OpenIV.ASI
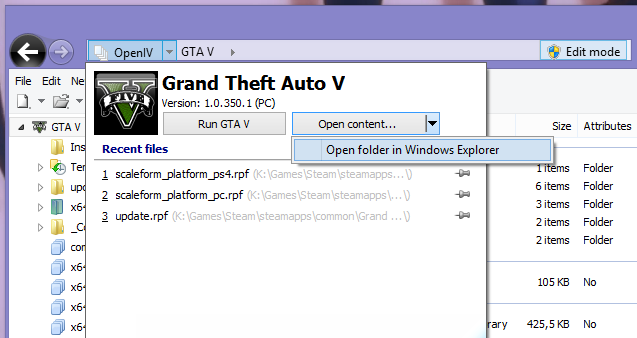
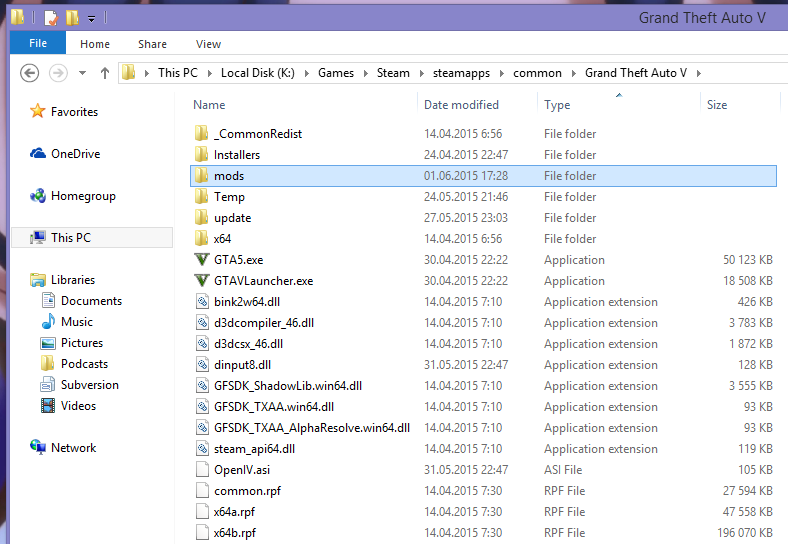
4 – Open your GTA V folder in File Explorer; you can do it fast in OpenIV
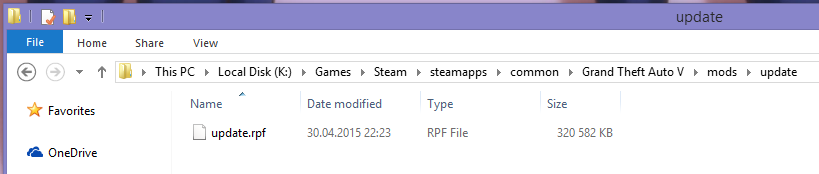
5 – In root of your GTA V folder create new folder and name if “mods” (lower case)
6 – Now you have to copy RPF archives into “mods” folder. For example, if you want to modify “Grand Theft Auto V\update\update.rpf” you need to copy it like “Grand Theft Auto V\mods\update\update.rpf”.
The following table is explain how you need to copy archives to mods folder. The path to RPF archive in “mods” folder must be the same as in real GTA Vfolder, here is some examples:
| Grand Theft Auto V – Original archive path | Path in “mods” folder |
|---|---|
| GTAV\update\update.rpf | GTAV\mods\update\update.rpf |
| GTAV\common.rpf | GTAV\mods\common.rpf |
| GTAV\x64\audio\sfx\SCRIPT.rpf | GTAV\mods\x64\audio\sfx\SCRIPT.rpf |
| GTAV\update\x64\dlcpacks\mpheist\dlc.rpf | GTAV\mods\update\x64\dlcpacks\mpheist\dlc.rpf |
| GTAV\x64e.rpf | GTAV\mods\x64e.rpf |
7 – From this point if you want to install mod or edit some file you need to do it in archive from “mods” folder.
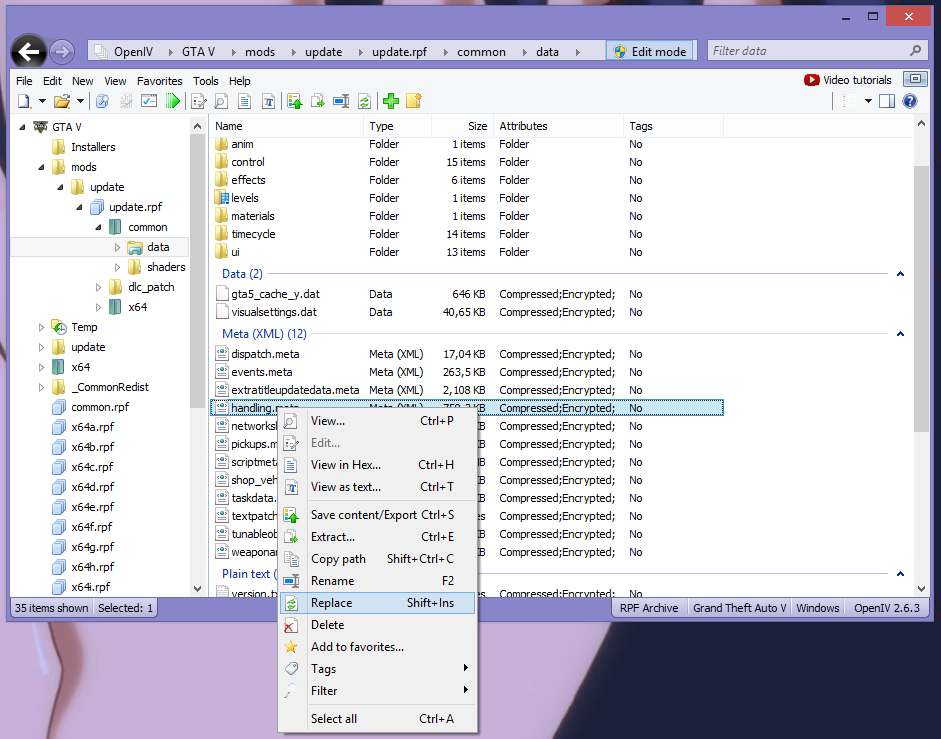
Now all your mods will be in separated folder, and original files will stay not modified.
If you want to switch back to original files just go to ASI Manager and remove OpenIV.ASI. In addition, you can remove ASI Loader to disable all ASI plugins that you have installed.
You can use ASI Manager any time to switch between mods and original game. You no need to remove “mods” folder every time.
Recommended Comments
Join the conversation
You can post now and register later. If you have an account, sign in now to post with your account.