paulchopping1986
Members
-
Joined
-
Last visited
Everything posted by paulchopping1986
-
Hi all, hoping someone can help.. as I am at a loss. I have created a set of lightbars within Blender, exported to zmod and added a test one to a car. when I go in game, the lights aren't emissive. What I have tried/checked: - the emissive material is at the top of the material list - the emissive mesh is above the siren_glass - the Mesh Vertex ID is set to 0 (when I set the ID to the headlights i.e. 1 & 2, the emissives work in game) - created a new material in zmod and applied it from scratch - copied a working emissive material, updated the detail texture and applied to mesh all of the above have the same result, the textures in game are appearing non-emissive, I am wondering if it is something to do with the mesh setup? I will zip and load a copy of one of the models here shortly, as I will be releasing them as Developer models anyway. Any help is appreciated. code3_pursuit_1200mm_sign.zip
-
Thanks, will try that
-
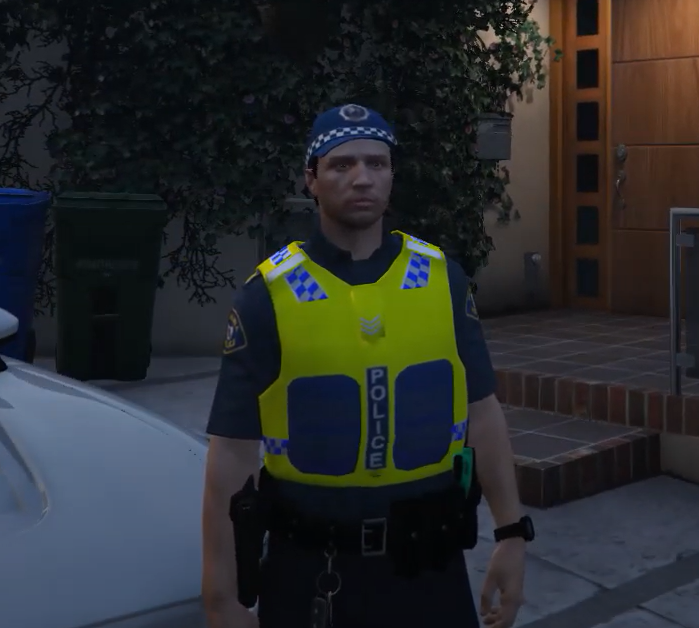
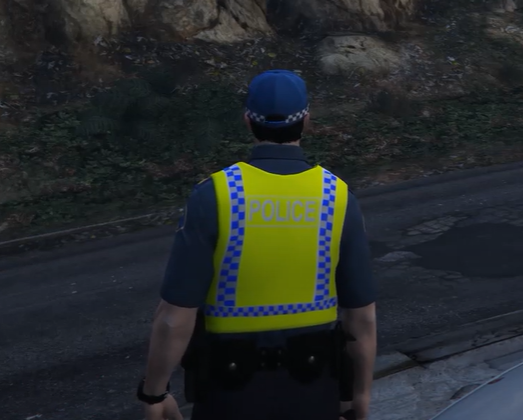
WIP for my Tasmanian Pack that Im starting... Vest is modified Rockstar Base File Hat is modified Rockstar Base File Shirt is modified Rockstar Base File Pants are base EUP File There is an error with the vest at the moment where the mesh is shuddering.. but trying to fix it...
-
Hoping someone can help, I have a vest that I have Modified. (One of the unlocked Rockstar ones) to make in to a Police Vest. However when I go in game I get some shuddering from the mesh.... I am using Blender and Sollumnz to modify and export the mest... I am fairly new to modding Ped's and this is my first real attempt at something bigger than retexturing... This mesh is one piece, its a single mesh that's been extruded and manipulated, not 2 mesh's joined together... (that was my first attempt and the shuddering was much worse)... I am assuming its the weight paint thats the issue? I do have Zmod and a licence so I can use that to fix it, just not sure how... any advice is appreciated.. thank you. Example:
-
Resolved the issue by re-installing Zmodler... my previous license expired, and for some reason when I added my new one it caused the wheels on any export to move position.
-
Hey all, hoping someone could help me.. I have downloaded the 2020 Kia Stinger Dev Model and when I export it from ZMod and load it in game the wheels are all in the wrong spots and misaligned. Im fairly new to 3d modding and cant find any tutorials or ways to fix this. I have recentred the axis on the chasis dummy, the main vehicle dummy. I've tried moving collisions, the mesh.... all with no luck. Also just to clarify I have opened the Dev file and exported that without making any other changes.... and I'm still getting the same issue. I have an image (thats failing to attach...) ill try get it on here soon. Any assistance is appreciated
-
-
-
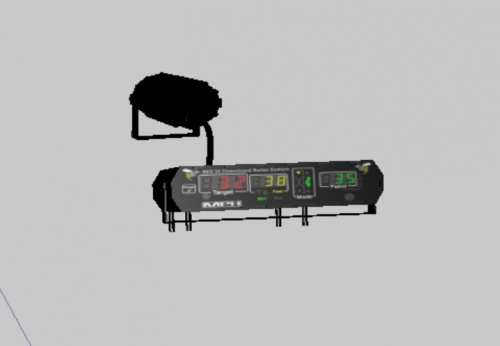 This is my custom Bee iii radar. Built from scratch in Blender and Zmod by me. Feel free to use, only ask is please credit where used.
 -
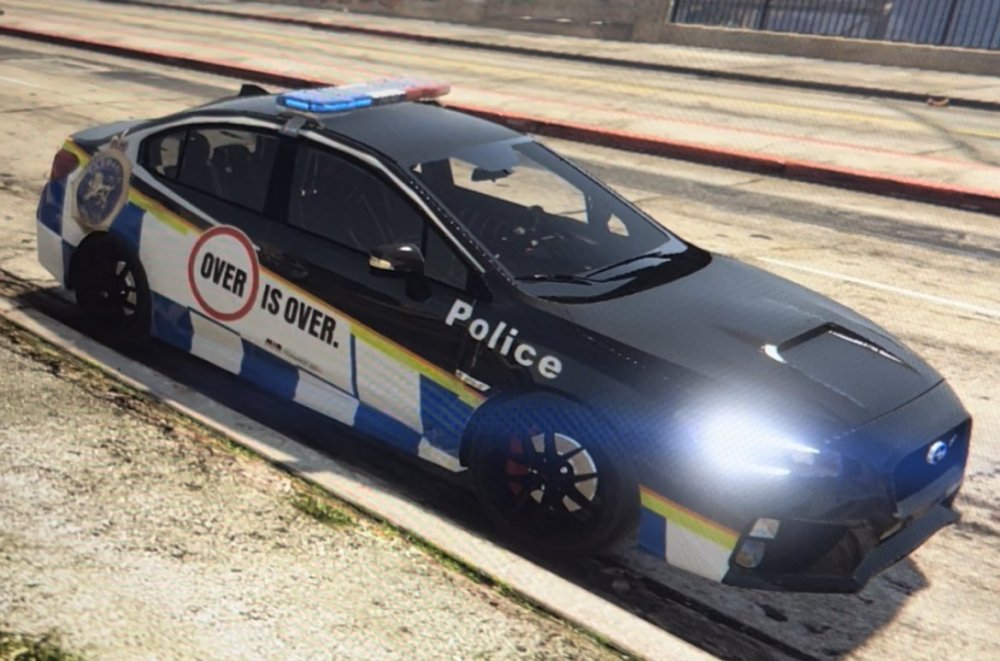
https://www.lcpdfr.com/downloads/gta5mods/vehiclemodels/39373-tasmania-police-subaru-wrx-pursuit-3-custom-dls/
-
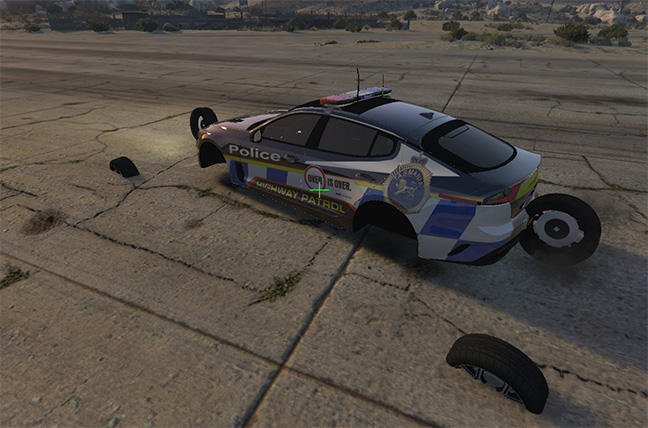
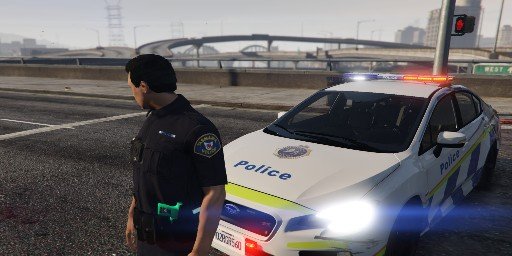
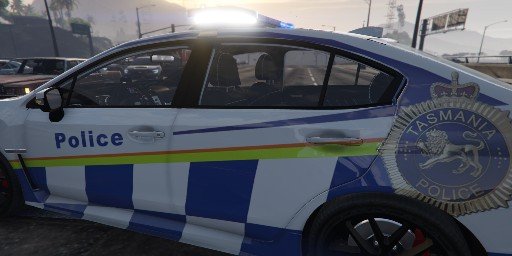
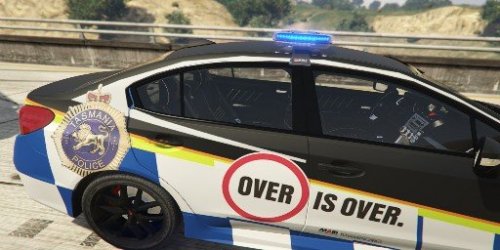 Welcome to my first vehicle release. I am aiming to create an entire fleet of Tasmanian Police Vehicles. Massive thank you to those who release dev models that make things like this one possible. This model requires DLS to function correctly.
 -
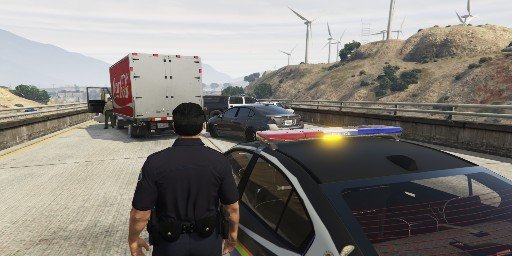
Final testing and tweaks happening now. Including the removal of the bonnet scoop, adding additional ION's, custom Bee III Radar system and fully functional DLS Pursuit 3 lightbar with Traffic advisors.

-
Coming Soon, the start of my Tasmanian Fleet. Fully functional DLS lightbar, custom Bee III speed radar and more
-
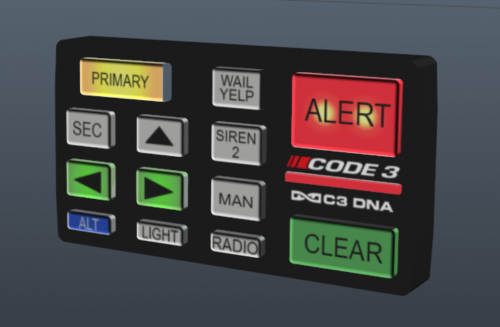 A Code 3, DNA Lightbar control for Zmodeler with working interior Emissive lights. Feel free to add to your vehicles, please credit where used. Included is the Zmod file and textures in a DDS folder, and a YFT and YTD file. Load the File into Zmodeler, then attach the relevant buttons (one at a time) to the associated Emissive Light.
 -
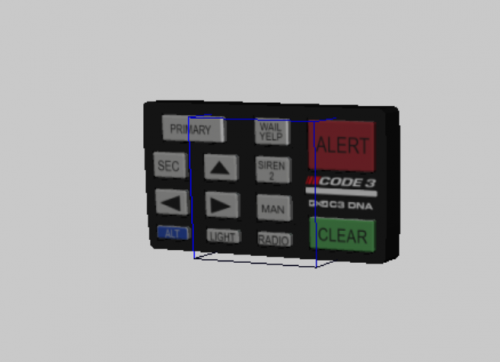 A Code 3, DNA Lightbar control for Zmodeler. Feel free to add to your vehicles, please credit where used. Included is the Zmod file and textures in a DDS folder, and a YFT and YTD file.
 -
Hey all, if anyone is using DLS, I have just released my first item, a UI controller to replace the Default DLS one with a Code 3 DNA controller.. Enjoy 🙂
-
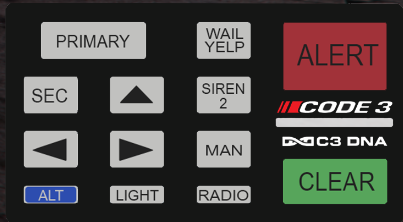 This UI Overlay will only work where you have DLS by TheMaybeast installed. I know the functionality isn't Exactly the same as its real life counterpart, but we work with what we have 🙂 There are 2 folders within this file, 1 will replace the UI for every vehicle. The other will allow you to specify on a per vehicle basis what control you want to use. -------------------------------------------------------------------------------------- Requirements -------------------------------------------------------------------------------------- -------------------------------------------------------------------------------------- Main Installation - General Replacement -------------------------------------------------------------------------------------- 1. Drag and drop the contents of the General Replacement folder, into your GTA Root directory 2. Done -------------------------------------------------------------------------------------- Main Installation - Specific Replacement -------------------------------------------------------------------------------------- 1. Drag and drop the contents of the Specific Replacement folder, into your GTA Root directory 2. Update the XML of the/any vehicles you want to display the control a. Open the file to update... e.g. police.xml b. Locate the Siren UI Tag... e.g. <SirenUI></SirenUI> c. add in the name of the control... e.g. <SirenUI>code3</SirenUI> 3. Save the XML File 4. Done -------------------------------------------------------------------------------------- Credits -------------------------------------------------------------------------------------- TheMaybeast – DLS & Providing the guides on how to create UI. paulchopping1986 – Creating the texure files and testing in game. -------------------------------------------------------------------------------------- Legal -------------------------------------------------------------------------------------- I am not responsible for any damaged caused to your Grand Theft Auto V installation and/or computer system.
- 1 review
-
-

- 1
-