


Sebo
Members
-
Joined
-
Last visited
Reputation Activity
-
 Sebo got a reaction from TheCanadianDream for a file, EUP Outfit ConverterThis is a small standalone tool that allows you to convert outfits. You can turn any EUP outfit (preset or created by yourself) into the LSPDFR outfit
format and also UltimateBackup, so you can always equip the AI with the same clothes as you.
A Windows PC with the latest updates.
EUP/LSPDFR/UltimateBackup (at least 2 out of 3, otherwise the tool would be useless for you.)
Extract the file wherever you want and run it. Paste in the config lines from one of the 3 outfit formats (See screenshots). Locations for those are down below. Copy the entries from the converted formats and paste them in the corresponding config file.
EUP outfits:
Grand Theft Auto V\Plugins\EUP\wardrobe.ini for outfits that you have created using EUP menu or Grand Theft Auto V\Plugins\EUP\presetoutfits.ini to convert premade outfits LSPDFR outfits:
Grand Theft Auto V\lspdfr\data\outfits.xml or if you are using EUP:FR (Ultimate): Grand Theft Auto V\lspdfr\data\custom\ and then whatever agency. UltimateBackup:
Grand Theft Auto V\Plugins\lspdfr\UltimateBackup\DefaultRegions.xml or Grand Theft Auto V\Plugins\lspdfr\UltimateBackup\CustomRegions.xml
Disclaimer: Yes I know that VirusTotal is showing that a few (3/60) Antivirus vendors flagged it. It is obviously a false positive and I've submitted the file to all
kinds of vendors including Microsoft for a manual check. I will happily provide Cyan or LCPDFR.com staff with the source code for manual review to
prove that it is indeed safe.
If you still don't trust it for whatever reason, feel free to use Microsoft's Sandbox (comes free with Windows 10 or from the Microsoft Store) and run it
from there.
-
 Sebo got a reaction from nokknokkopenup for a file, EUP Outfit ConverterThis is a small standalone tool that allows you to convert outfits. You can turn any EUP outfit (preset or created by yourself) into the LSPDFR outfit
format and also UltimateBackup, so you can always equip the AI with the same clothes as you.
A Windows PC with the latest updates.
EUP/LSPDFR/UltimateBackup (at least 2 out of 3, otherwise the tool would be useless for you.)
Extract the file wherever you want and run it. Paste in the config lines from one of the 3 outfit formats (See screenshots). Locations for those are down below. Copy the entries from the converted formats and paste them in the corresponding config file.
EUP outfits:
Grand Theft Auto V\Plugins\EUP\wardrobe.ini for outfits that you have created using EUP menu or Grand Theft Auto V\Plugins\EUP\presetoutfits.ini to convert premade outfits LSPDFR outfits:
Grand Theft Auto V\lspdfr\data\outfits.xml or if you are using EUP:FR (Ultimate): Grand Theft Auto V\lspdfr\data\custom\ and then whatever agency. UltimateBackup:
Grand Theft Auto V\Plugins\lspdfr\UltimateBackup\DefaultRegions.xml or Grand Theft Auto V\Plugins\lspdfr\UltimateBackup\CustomRegions.xml
Disclaimer: Yes I know that VirusTotal is showing that a few (3/60) Antivirus vendors flagged it. It is obviously a false positive and I've submitted the file to all
kinds of vendors including Microsoft for a manual check. I will happily provide Cyan or LCPDFR.com staff with the source code for manual review to
prove that it is indeed safe.
If you still don't trust it for whatever reason, feel free to use Microsoft's Sandbox (comes free with Windows 10 or from the Microsoft Store) and run it
from there.
-
Sebo got a reaction from Yasd for a file, EUP Outfit ConverterThis is a small standalone tool that allows you to convert outfits. You can turn any EUP outfit (preset or created by yourself) into the LSPDFR outfit
format and also UltimateBackup, so you can always equip the AI with the same clothes as you.
A Windows PC with the latest updates.
EUP/LSPDFR/UltimateBackup (at least 2 out of 3, otherwise the tool would be useless for you.)
Extract the file wherever you want and run it. Paste in the config lines from one of the 3 outfit formats (See screenshots). Locations for those are down below. Copy the entries from the converted formats and paste them in the corresponding config file.
EUP outfits:
Grand Theft Auto V\Plugins\EUP\wardrobe.ini for outfits that you have created using EUP menu or Grand Theft Auto V\Plugins\EUP\presetoutfits.ini to convert premade outfits LSPDFR outfits:
Grand Theft Auto V\lspdfr\data\outfits.xml or if you are using EUP:FR (Ultimate): Grand Theft Auto V\lspdfr\data\custom\ and then whatever agency. UltimateBackup:
Grand Theft Auto V\Plugins\lspdfr\UltimateBackup\DefaultRegions.xml or Grand Theft Auto V\Plugins\lspdfr\UltimateBackup\CustomRegions.xml
Disclaimer: Yes I know that VirusTotal is showing that a few (3/60) Antivirus vendors flagged it. It is obviously a false positive and I've submitted the file to all
kinds of vendors including Microsoft for a manual check. I will happily provide Cyan or LCPDFR.com staff with the source code for manual review to
prove that it is indeed safe.
If you still don't trust it for whatever reason, feel free to use Microsoft's Sandbox (comes free with Windows 10 or from the Microsoft Store) and run it
from there.
-
Sebo got a reaction from Bear82 for a file, EUP Outfit ConverterThis is a small standalone tool that allows you to convert outfits. You can turn any EUP outfit (preset or created by yourself) into the LSPDFR outfit
format and also UltimateBackup, so you can always equip the AI with the same clothes as you.
A Windows PC with the latest updates.
EUP/LSPDFR/UltimateBackup (at least 2 out of 3, otherwise the tool would be useless for you.)
Extract the file wherever you want and run it. Paste in the config lines from one of the 3 outfit formats (See screenshots). Locations for those are down below. Copy the entries from the converted formats and paste them in the corresponding config file.
EUP outfits:
Grand Theft Auto V\Plugins\EUP\wardrobe.ini for outfits that you have created using EUP menu or Grand Theft Auto V\Plugins\EUP\presetoutfits.ini to convert premade outfits LSPDFR outfits:
Grand Theft Auto V\lspdfr\data\outfits.xml or if you are using EUP:FR (Ultimate): Grand Theft Auto V\lspdfr\data\custom\ and then whatever agency. UltimateBackup:
Grand Theft Auto V\Plugins\lspdfr\UltimateBackup\DefaultRegions.xml or Grand Theft Auto V\Plugins\lspdfr\UltimateBackup\CustomRegions.xml
Disclaimer: Yes I know that VirusTotal is showing that a few (3/60) Antivirus vendors flagged it. It is obviously a false positive and I've submitted the file to all
kinds of vendors including Microsoft for a manual check. I will happily provide Cyan or LCPDFR.com staff with the source code for manual review to
prove that it is indeed safe.
If you still don't trust it for whatever reason, feel free to use Microsoft's Sandbox (comes free with Windows 10 or from the Microsoft Store) and run it
from there.
-
Sebo reacted to MaxDesigns for a file, German Federal EUP [4K] | Alle deutschen Polizeiuniformen, BPol und ZollDE
Information
Moin Freunde,
Hier ist nun das Rework für mein German EUP. Enthalten sind nach wie vor Uniformen aller deutscher
Polizeibehörden inklusive dem Zoll. Die Bundespolizei ist zwar noch mit am stärksten im Pack vertreten,
jedoch bring auch fast jedes Bundesland außer Hemd, Hose und Mütze eine Kleinigkeit, wie z.B. eine Weste,
Jacke oder ein Polohemd mit sich.
Ich wünsche viel Freude damit. Für Fragen oder Nutzungslizenzen, bitte ich meinem Discord beizutreten.
Auf diesem finden sich des weiteren noch Erweiterungen für dieses Pack für alle Patreon-Abonnenten ab 3€.
Dazu zählen Zahlreiche Westen, Kleidungsstücke, sowie ein ganzes SEK- und BePo-Pack.
Voraussetzungen:
1. OpenIV
2. Neuste EUP Law & Order Version
3. Neuste EUP Serve & Rescue Version
4. EUP Menu
Installation EUP:
D1 ---> V\mods\update\x64\dlcpacks\eup\dlc.rpf\x64\eup_componentpeds.rpf
D2 ---> V\mods\update\x64\dlcpacks\eup\dlc.rpf\x64\eup_componentpeds_p.rpf
D3 ---> V\mods\update\x64\dlcpacks\sup\dlc.rpf\x64\sup_componentpeds.rpf
D4 ---> V\mods\update\x64\dlcpacks\sup\dlc.rpf\x64\sup_componentpeds_p.rpf
D5 ---> V\mods\update\x64\dlcpacks\eup\dlc.rpf\x64\script_txds.rpf
D6 ---> V\plugins\EUP
Nutzungsbedingungen:
1. Es ist strengstens untersagt, diese Datei modifiziert und / oder erneut hochzuladen
2. Es ist ebenfalls untersagt, diese Datei auf anderen Webseiten erneut hochzuladen
3. Sollte es geplant sein, diese Datei auf einem Server wie FiveM (o.Ä.) zu verweden, so wird
die klare, eindeutige, schriftlich nachweisbare Einverständnis von MaxDesigns benötigt! Dafür bitte meinem
Discord beitreten!
Ich empfehle dazu noch mein Westenpack mit Westen aus NRW, Hamburg, Bremen, Schleswig-Holstein, Mecklenburg-Vorpommernund Niedersachsen, Assets dazu von CYA
-
Sebo got a reaction from Sergio Toff for a file, BodyCamWhat does this plugin do? This plugin adds a realistic body cam overlay and also plays the sound every 90 seconds (by default, can be configured).
You can change:
The time between the beeps The serial number in the overlay The model text in the overlay The logo and sound A manual toggle key to activate/deactivate the overlay The general overlay scale The date If it works in every view or first person only
A legit copy of Grand Theft Auto V RAGE Plugin Hook
Installation:
1. Copy the files from the .zip into your Grand Theft Auto V\Plugins\ folder.
2. Check the .ini file in Grand Theft Auto V\Plugins\BodyCam\ and adjust the settings and keybinds to your liking.
3. Load the plugin via the RAGE Plugin Hook settings or ingame via the console and enjoy 🙂
How to use the custom logo/sound:
Logo: Place a .png with the logo of your choice (and preferably transparent background) in the Grand Theft Auto V\Plugins\BodyCam\ folder and name the file "custom.png".
Sound: Place a .wav file with the sound of your choice in the Grand Theft Auto V\Plugins\BodyCam\ folder and name the file "custom.wav".
Don't go too crazy with the logo/sound files and keep them as small as possible in terms of file size. Larger sizes might cause issues/crashes.
If you want to stay up to date on the development of my plugins, you can check out my Discord server at the link below.
https://discord.gg/MSW6RPp
If you need help with GTA or LSPDFR you can stop by at our LSPDFR Fans Discord server.
https://discord.gg/HGFwdyB
Disclaimer: We are in no way affiliated with Axon.
-
Sebo got a reaction from Makiyah McMillan for a file, BodyCamWhat does this plugin do? This plugin adds a realistic body cam overlay and also plays the sound every 90 seconds (by default, can be configured).
You can change:
The time between the beeps The serial number in the overlay The model text in the overlay The logo and sound A manual toggle key to activate/deactivate the overlay The general overlay scale The date If it works in every view or first person only
A legit copy of Grand Theft Auto V RAGE Plugin Hook
Installation:
1. Copy the files from the .zip into your Grand Theft Auto V\Plugins\ folder.
2. Check the .ini file in Grand Theft Auto V\Plugins\BodyCam\ and adjust the settings and keybinds to your liking.
3. Load the plugin via the RAGE Plugin Hook settings or ingame via the console and enjoy 🙂
How to use the custom logo/sound:
Logo: Place a .png with the logo of your choice (and preferably transparent background) in the Grand Theft Auto V\Plugins\BodyCam\ folder and name the file "custom.png".
Sound: Place a .wav file with the sound of your choice in the Grand Theft Auto V\Plugins\BodyCam\ folder and name the file "custom.wav".
Don't go too crazy with the logo/sound files and keep them as small as possible in terms of file size. Larger sizes might cause issues/crashes.
If you want to stay up to date on the development of my plugins, you can check out my Discord server at the link below.
https://discord.gg/MSW6RPp
If you need help with GTA or LSPDFR you can stop by at our LSPDFR Fans Discord server.
https://discord.gg/HGFwdyB
Disclaimer: We are in no way affiliated with Axon.
-
Sebo reacted to Bavarian Modding for a file, 2021 BMW 3er Touring Polizei München Kripo (ELS/Reflective)This is our first unmarked car. It fetures the now widely used 2021 3-Series.
The car spawns on POLICE4 slot with tinted windows, use a trainer to clear thewindows or edit the .meta for it to permanently spawn with clear windows.
Features:
-ELS
-Removeable Beacon
-Refelctive Plates
Do not Rip, unlock or reupload this car without permission!
You are free to use this car on fivem Servers that are not on our blacklist.
You can report bugs and find more mods on our Discord:
https://discord.gg/Eu4egmYhqM
Thanks to @EinfachJohn for the scrrenshots.
-
Sebo reacted to thatmaxplayle for a file, Section136CalloutsSection136Callouts is a LSPDFR callout package featuring a verity of callouts which spice up your LSPDFR experience. Developed over nearly two years now, it certainly has the content to keep you on your feet in the city of Los Santos!
Support the pack!
99% of players will enjoy the pack for free. That's fine! However, if you'd like to chip in an financially support future development of the pack, then please consider taking out my Section136Callouts Early Access Club membership! For just £5.00 a month, you will receive all Section136Callouts beta builds with the freshest functionality, plus get a massive influence on what comes next! Get started at https://www.buymeacoffee.com/maxplayle
Join the conversation!
For discussion, information about upcoming updates, and more regarding Section136Callouts, LSPDFR in general and more - join my Discord server! You can join using the link: https://discord.gg/3bq88pY
Current Callouts
Area Search Armed Suspect Attempted Sexual Assault Detainee Transport Required Interior Burglary Mental Health Patient Escaped Officer Panic Button Person With Knife Prisoner Transfer Racing Vehicles COVID-19 Self Isolation Violation Shoplifting Stolen Emergency Vehicle Stolen Vehicle (disabled by default) Suicidal Subject Theft from Person Traffic Stop Backup Required Metro Station - Assistance Requested Airport Security Threat Commercial Vehicle Theft Concern for Welfare
Copyright and Legal Stuff
This mod (compiled plugin, compiled patch to Grand Theft Auto V source, henceforth "Mod" or "The Mod"), is the sole property of the Mod author (Max Playle, henceforth "Owner" or "The Owner"). By default it may only be distributed on its own from https://lcpdfr.com. It may not be distributed on its own from any other source unless given explicit permission. It may be included in any video as long as it does not attempt to make money off The Owner's Mods. URL shorteners or other attempts to make money off The Owner's Mods are strictly forbidden without advance written permission. Attempts to modify the Mod, and distribute modified versions are Strictly Prohibited, regardless of the modifications in question.
YouTube Content Creators / Twitch Streamers
You can include this script in any of your YouTube videos or Twitch Streams. However, I politely request that you include a link to this page (or to https://section136.maxplayledev.org, which will redirect here) in the description/show notes of your video. Please do send me a link to any videos that include Section136Callouts, I'd be curious to know your thoughts and to see playback of the callouts from a third party perspective!
AV False Positive
Section136Callouts will trigger some online virus searching engines, such as VirusTotal. This is because the engines used to scan files submitted to sites such as VirusTotal use extremely aggressive heuristics to determine whether something contains a virus. However, as a side effect of this - binaries such as GTA plugins, which make use of memory hooking to achieve a large amount of what they do, will be flagged up. Section136Callouts does not contain any malicious code whatsoever, and you can safely ignore any warnings you receive as a false positive.
Section136Callouts should not flag up in any desktop antivirus engines, however may - on occasion, when a new version is released.
Dependencies
Whilst every effort is made to keep the dependencies bundled with the Section136Callouts download up-to-date, sometimes - being human - I do miss things. As such, you can download the following Section136Callouts dependencies externally:
RageNativeUI - https://github.com/alexguirre/ragenativeui/releases (you may need to update this library after a game update)
Newtonsoft.Json - https://www.newtonsoft.com/json
Section136Callouts may interact with maxplayledev.org Online Services to report plugin issues, authenticate users against Early Access Club and perform update checks.
If you'd rather Section136Callouts not reach out to the network whatsoever, just enable Prohibit Network Transmission in the configuration file. More information on that is at https://maxplayledev.org/section136callouts/configuration. All currently active network functionality is toggleable using the main configuration file.
-
Sebo got a reaction from Officer Aaron Thorsen for a file, BodyCamWhat does this plugin do? This plugin adds a realistic body cam overlay and also plays the sound every 90 seconds (by default, can be configured).
You can change:
The time between the beeps The serial number in the overlay The model text in the overlay The logo and sound A manual toggle key to activate/deactivate the overlay The general overlay scale The date If it works in every view or first person only
A legit copy of Grand Theft Auto V RAGE Plugin Hook
Installation:
1. Copy the files from the .zip into your Grand Theft Auto V\Plugins\ folder.
2. Check the .ini file in Grand Theft Auto V\Plugins\BodyCam\ and adjust the settings and keybinds to your liking.
3. Load the plugin via the RAGE Plugin Hook settings or ingame via the console and enjoy 🙂
How to use the custom logo/sound:
Logo: Place a .png with the logo of your choice (and preferably transparent background) in the Grand Theft Auto V\Plugins\BodyCam\ folder and name the file "custom.png".
Sound: Place a .wav file with the sound of your choice in the Grand Theft Auto V\Plugins\BodyCam\ folder and name the file "custom.wav".
Don't go too crazy with the logo/sound files and keep them as small as possible in terms of file size. Larger sizes might cause issues/crashes.
If you want to stay up to date on the development of my plugins, you can check out my Discord server at the link below.
https://discord.gg/MSW6RPp
If you need help with GTA or LSPDFR you can stop by at our LSPDFR Fans Discord server.
https://discord.gg/HGFwdyB
Disclaimer: We are in no way affiliated with Axon.
-
Sebo got a reaction from renzz for a file, No Bullet TracesThis .meta removes the bullet tracer effect that occurs when shooting with any gun.
NOTE: I recommend making a backup of your weapons.meta, just in case something goes wrong.
If you have made any changes to your weapons.meta file, for custom weapons or whatever, make sure to redo those changes to the .meta file that I provided
Installation:
INSTALLATION FOR UNMODIFIED WEAPONS.META:
1. Open OpenIV
2. Navigate to \mods\update\update.rpf\common\data\ai
3. Replace the weapons.meta with the one provided in this download
4. Enjoy.
INSTALLATION FOR USE WITH THE FOLLOWING SOUND MOD:
https://www.gta5-mods.com/weapons/realistic-shootouts-enhanced-0-9-beta-gtav-weapon-sound-mod
1. Download No Bullet Traces RSE.zip
2. Open OpenIV
3. Install the linked sound mod
4. Navigate to \mods\update\update.rpf\common\data\ai
5. Replace the weapons.meta with the one provided in this download
6. Enjoy.
INSTALLATION FOR USE WITH THE FOLLOWING SOUND MOD:
https://www.gta5-mods.com/weapons/gun-sounds-overhaul-2-0
1. Download No Bullet Traces GSO.zip
2. Open OpenIV
3. Install the linked sound mod
4. Navigate to \mods\update\update.rpf\common\data\ai
5. Replace the weapons.meta with the one provided in this download
6. Enjoy.
Disclaimer:
Do NOT upload or redistribute without my written permission.
This includes private sharing or uploading to any other website.
-
Sebo got a reaction from Recoveryboy for a file, BodyCamWhat does this plugin do? This plugin adds a realistic body cam overlay and also plays the sound every 90 seconds (by default, can be configured).
You can change:
The time between the beeps The serial number in the overlay The model text in the overlay The logo and sound A manual toggle key to activate/deactivate the overlay The general overlay scale The date If it works in every view or first person only
A legit copy of Grand Theft Auto V RAGE Plugin Hook
Installation:
1. Copy the files from the .zip into your Grand Theft Auto V\Plugins\ folder.
2. Check the .ini file in Grand Theft Auto V\Plugins\BodyCam\ and adjust the settings and keybinds to your liking.
3. Load the plugin via the RAGE Plugin Hook settings or ingame via the console and enjoy 🙂
How to use the custom logo/sound:
Logo: Place a .png with the logo of your choice (and preferably transparent background) in the Grand Theft Auto V\Plugins\BodyCam\ folder and name the file "custom.png".
Sound: Place a .wav file with the sound of your choice in the Grand Theft Auto V\Plugins\BodyCam\ folder and name the file "custom.wav".
Don't go too crazy with the logo/sound files and keep them as small as possible in terms of file size. Larger sizes might cause issues/crashes.
If you want to stay up to date on the development of my plugins, you can check out my Discord server at the link below.
https://discord.gg/MSW6RPp
If you need help with GTA or LSPDFR you can stop by at our LSPDFR Fans Discord server.
https://discord.gg/HGFwdyB
Disclaimer: We are in no way affiliated with Axon.
-
What does this plugin do? This plugin adds a realistic body cam overlay and also plays the sound every 90 seconds (by default, can be configured).
You can change:
The time between the beeps The serial number in the overlay The model text in the overlay The logo and sound A manual toggle key to activate/deactivate the overlay The general overlay scale The date If it works in every view or first person only
A legit copy of Grand Theft Auto V RAGE Plugin Hook
Installation:
1. Copy the files from the .zip into your Grand Theft Auto V\Plugins\ folder.
2. Check the .ini file in Grand Theft Auto V\Plugins\BodyCam\ and adjust the settings and keybinds to your liking.
3. Load the plugin via the RAGE Plugin Hook settings or ingame via the console and enjoy 🙂
How to use the custom logo/sound:
Logo: Place a .png with the logo of your choice (and preferably transparent background) in the Grand Theft Auto V\Plugins\BodyCam\ folder and name the file "custom.png".
Sound: Place a .wav file with the sound of your choice in the Grand Theft Auto V\Plugins\BodyCam\ folder and name the file "custom.wav".
Don't go too crazy with the logo/sound files and keep them as small as possible in terms of file size. Larger sizes might cause issues/crashes.
If you want to stay up to date on the development of my plugins, you can check out my Discord server at the link below.
https://discord.gg/MSW6RPp
If you need help with GTA or LSPDFR you can stop by at our LSPDFR Fans Discord server.
https://discord.gg/HGFwdyB
Disclaimer: We are in no way affiliated with Axon.
-
Sebo reacted to OJdoesIt for a file, Auto Patrol - Autodrive, Real Code Driving & Intersection Siren UsageThis mod allows the user to autonomously drive their emergency vehicle, from normal to Code driving. I designed this mod specifically for content creators so that they can less focused on the small task of cruising on patrol and more engaged with commentary and/or live stream interaction.
Showcase by @DiamondTKG
Much thanks to @DiamondTKG for testing and showcasing the mod. Make sure to SUBSCRIBE to her channel for great LSPDFR content.
Brief Description of Driving Styles:
Normal - This is the typical driving style for AI traffic. Aggressive - Drives more aggressively with overtaking vehicles and possibly ramming. Urgent - Kind of a hybrid of Normal and Aggressive in that some vehicles will be overtaken. Code 2 - Based upon the common driving behaviors of Code 2 driving across the United States. Code 2 (California style) - A specific Code 2 driving as seen and experienced in California. Through my ride along experiences, officers can only use lights and sirens when authorized. So they typically only, and briefly, use lights and sirens to clear intersections/heavy traffic. They proceed by turning off lights/siren and drive urgently to the scene. Code 3 - The obvious driving behaviors of Code 3 driving as seen across the United States.
Make sure to put AutoPatrol.dll and AutoPatrol.ini and AutoPatrol.pdb into \Plugins\LSPDFR folder.
Make sure to have the latest version of RageNativeUI installed.
Take a look at the INI at least once to make sure you are satisfied with the settings.
Disclaimer:
This mod only functions while driving an emergency vehicle.
To disable the autodriving, you may press and hold either the Accelerate, Brake, or Exit control buttons for one second.
For usage with ELS vehicles, you need to set ElsTrfCtrlOn = false in the ELS.ini
Special Thanks:
@DiamondTKG
@ColonelJim
@RoyceTheFox
@Panos1221
LSPDFR Developers Discord
-
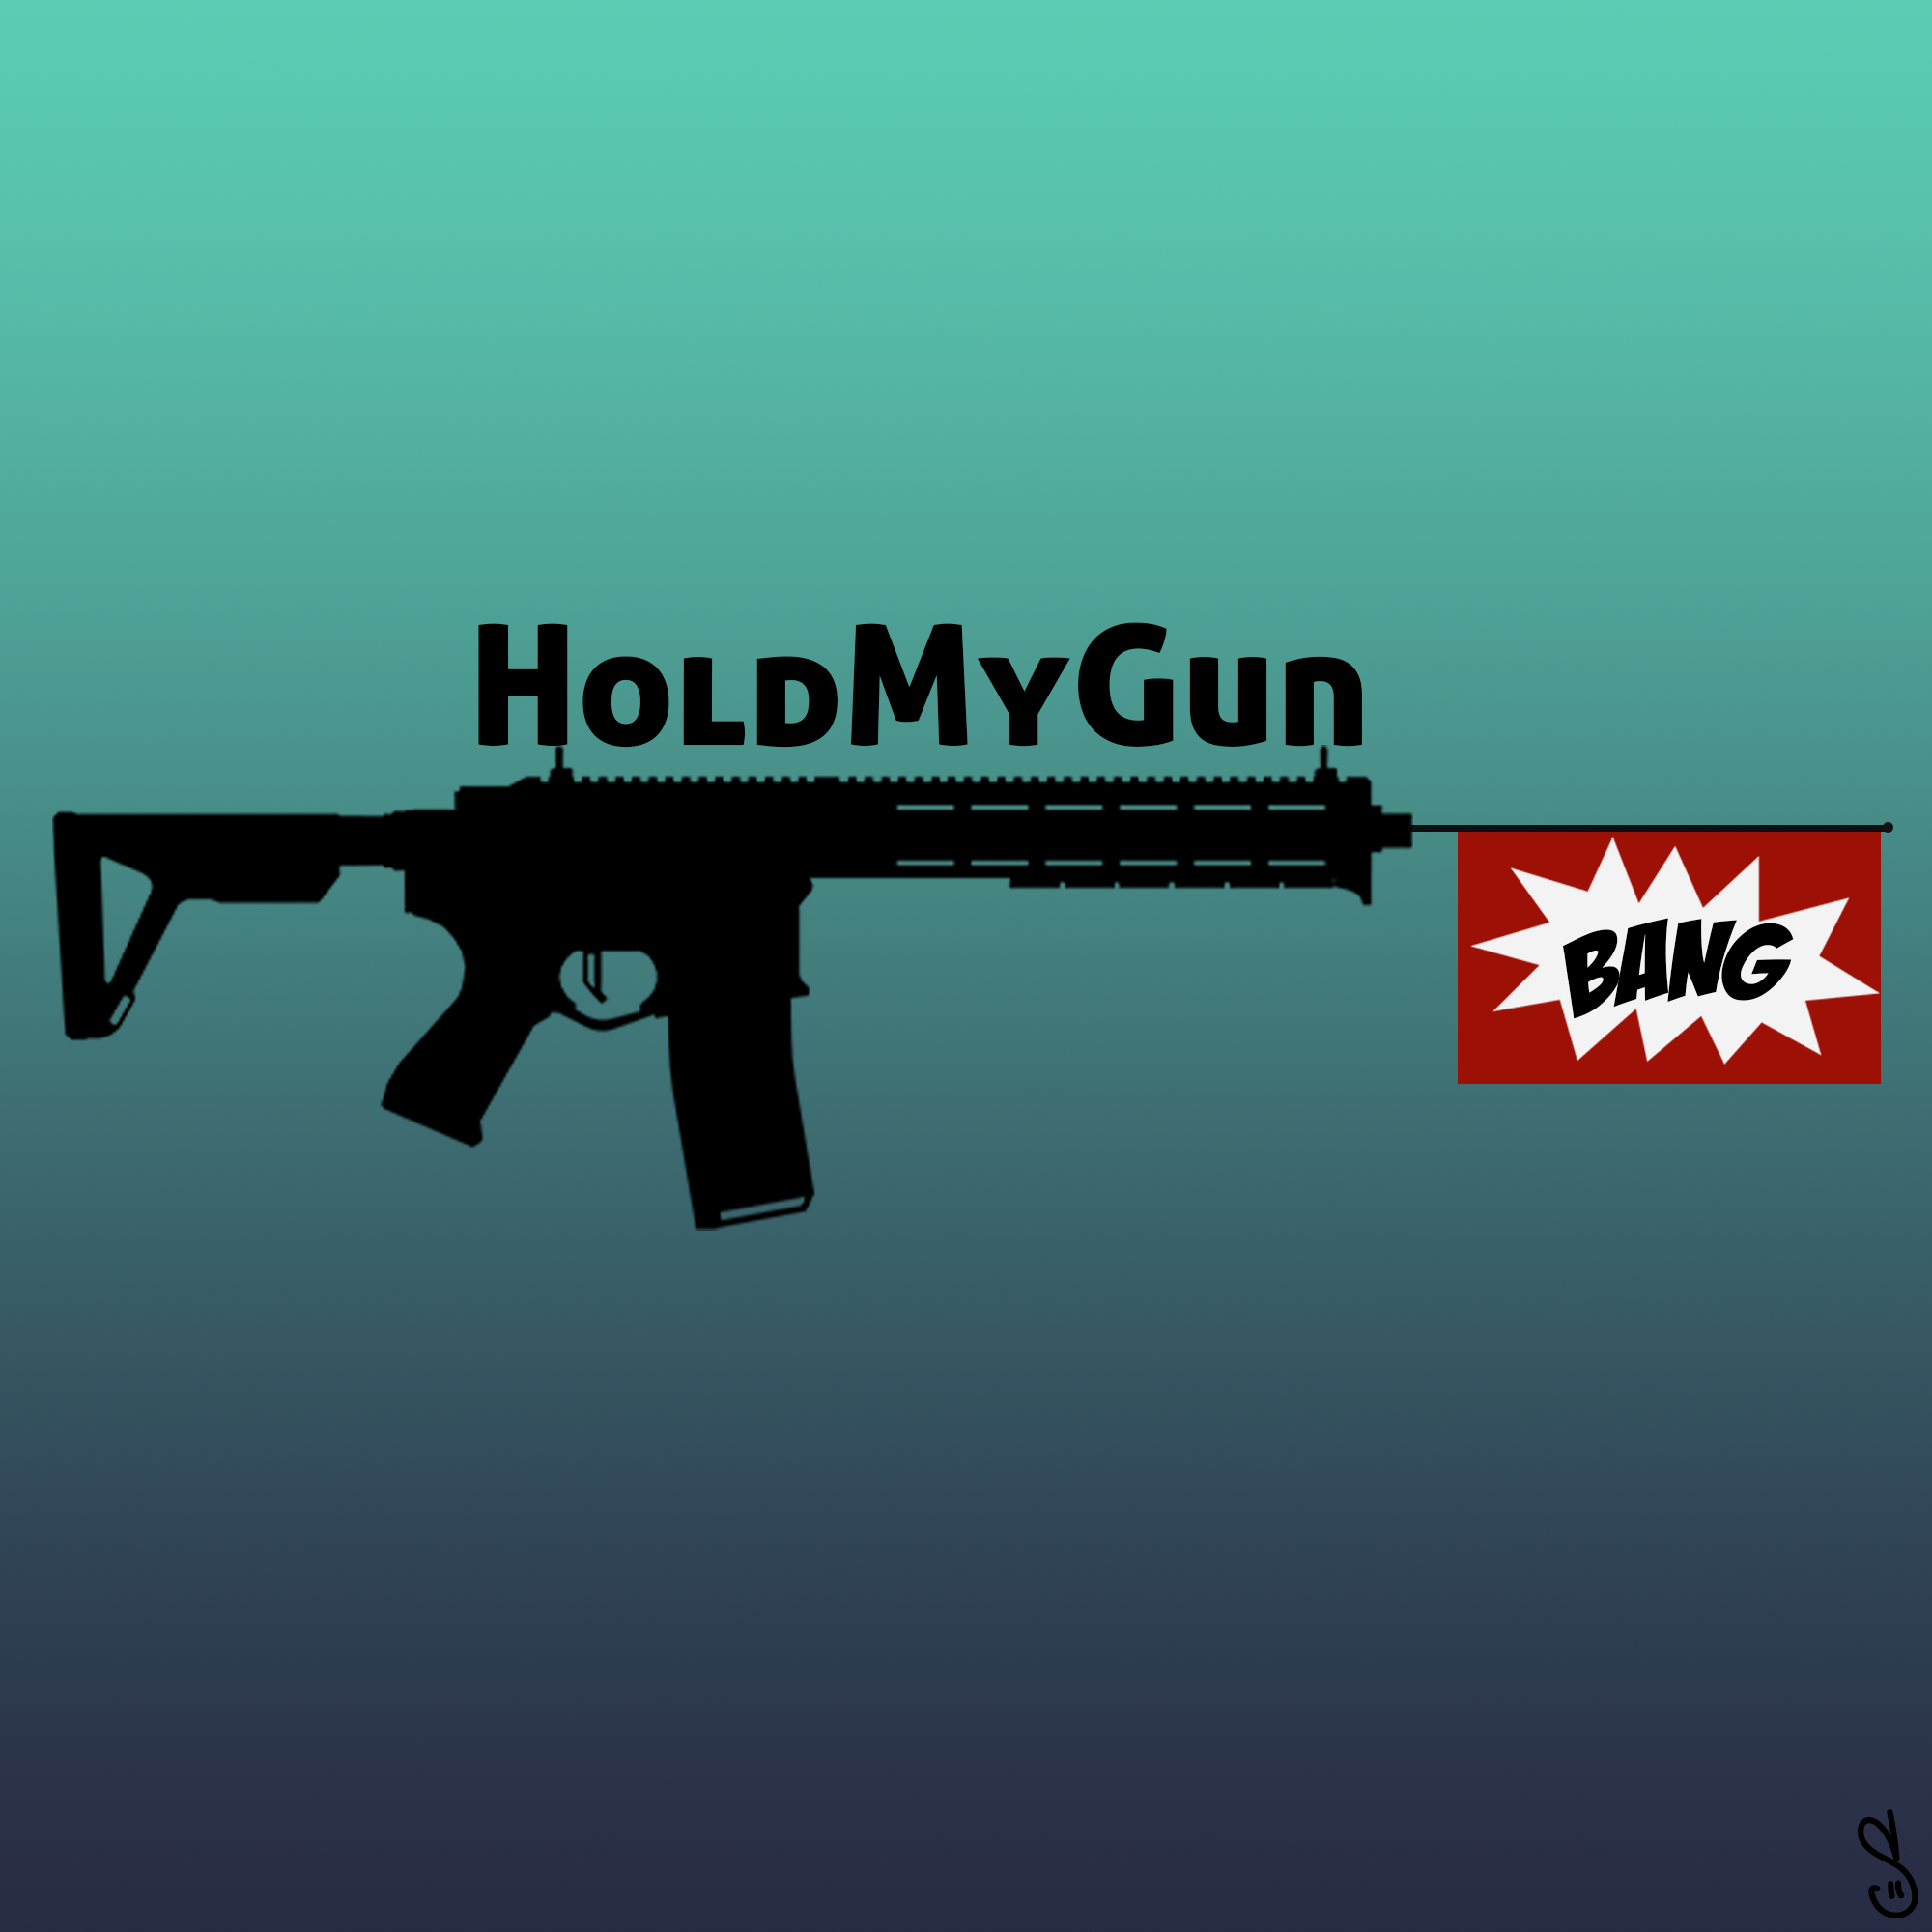
Sebo got a reaction from Paladin Ranger for a file, HoldMyGunFor all vehicle creators/modelers: I've included a documentation file, in case you want to make a compatible vehicle, where people can toggle the weapons in a gunrack. It's not complicated at all, and if you upload a vehicle with this feature, please send me a message so I can put a link up on this download page 🙂
This plugin allows you to store your Carbine Rifle, Shotgun, SMG, as well as Body Armor and Fire Extinguisher in your police car, and also to retrieve it.
It does NOT require compatible vehicles, however, they will add additional features, like seeing your weapons appear/disappear from the gunrack.
Features:
Store your Carbine Rifle, Shotgun, SMG, fire extinguisher and armor in your patrol vehicle. Retrieve the same from either inside the vehicle, or from the outside. Stand near the driver door and press the key to retrieve your weapons, stand near the trunk and press the key to retrieve your armor + medkit and/or your fire extinguisher Includes some fancy animations Customizable attachments for the weapons Customizable keybinds
Installation:
Put the .dll and the .ini into your "Grand Theft Auto V\Plugins\" folder.
Make sure to take a look at the .ini file to set your name and preferred keybind.
You have to sit in a Police car to store and retrieve your rifle/shotgun.
It does not matter whether it's a default police car, a replacement, or an addon, as long as you added the Police car correctly.
It works with the Carbine Rifle(MK2) and PumpShotgun, which come with an equipped flashlight upon retrieving.
Disclaimer:
Do NOT upload or redistribute without my written permission.
This includes private sharing or uploading to any other website.
And here's a link to my Discord server, where you'll find information about the current state of development for my plugins, and you'll get early access to beta builds:
https://discord.gg/RbSGF2d
The first compatible vehicle. Made by @panoszaf. Thank you 🙂
Thanks to FirstThirtyMinutes for showing the plugin in action!
-
What does this plugin do? This plugin adds a realistic body cam overlay and also plays the sound every 90 seconds (by default, can be configured).
You can change:
The time between the beeps The serial number in the overlay The model text in the overlay The logo and sound A manual toggle key to activate/deactivate the overlay The general overlay scale The date If it works in every view or first person only
A legit copy of Grand Theft Auto V RAGE Plugin Hook
Installation:
1. Copy the files from the .zip into your Grand Theft Auto V\Plugins\ folder.
2. Check the .ini file in Grand Theft Auto V\Plugins\BodyCam\ and adjust the settings and keybinds to your liking.
3. Load the plugin via the RAGE Plugin Hook settings or ingame via the console and enjoy 🙂
How to use the custom logo/sound:
Logo: Place a .png with the logo of your choice (and preferably transparent background) in the Grand Theft Auto V\Plugins\BodyCam\ folder and name the file "custom.png".
Sound: Place a .wav file with the sound of your choice in the Grand Theft Auto V\Plugins\BodyCam\ folder and name the file "custom.wav".
Don't go too crazy with the logo/sound files and keep them as small as possible in terms of file size. Larger sizes might cause issues/crashes.
If you want to stay up to date on the development of my plugins, you can check out my Discord server at the link below.
https://discord.gg/MSW6RPp
If you need help with GTA or LSPDFR you can stop by at our LSPDFR Fans Discord server.
https://discord.gg/HGFwdyB
Disclaimer: We are in no way affiliated with Axon.
-
Sebo got a reaction from krazrunner for a file, BodyCamWhat does this plugin do? This plugin adds a realistic body cam overlay and also plays the sound every 90 seconds (by default, can be configured).
You can change:
The time between the beeps The serial number in the overlay The model text in the overlay The logo and sound A manual toggle key to activate/deactivate the overlay The general overlay scale The date If it works in every view or first person only
A legit copy of Grand Theft Auto V RAGE Plugin Hook
Installation:
1. Copy the files from the .zip into your Grand Theft Auto V\Plugins\ folder.
2. Check the .ini file in Grand Theft Auto V\Plugins\BodyCam\ and adjust the settings and keybinds to your liking.
3. Load the plugin via the RAGE Plugin Hook settings or ingame via the console and enjoy 🙂
How to use the custom logo/sound:
Logo: Place a .png with the logo of your choice (and preferably transparent background) in the Grand Theft Auto V\Plugins\BodyCam\ folder and name the file "custom.png".
Sound: Place a .wav file with the sound of your choice in the Grand Theft Auto V\Plugins\BodyCam\ folder and name the file "custom.wav".
Don't go too crazy with the logo/sound files and keep them as small as possible in terms of file size. Larger sizes might cause issues/crashes.
If you want to stay up to date on the development of my plugins, you can check out my Discord server at the link below.
https://discord.gg/MSW6RPp
If you need help with GTA or LSPDFR you can stop by at our LSPDFR Fans Discord server.
https://discord.gg/HGFwdyB
Disclaimer: We are in no way affiliated with Axon.
-
Sebo got a reaction from TheAvengerNick for a file, BodyCamWhat does this plugin do? This plugin adds a realistic body cam overlay and also plays the sound every 90 seconds (by default, can be configured).
You can change:
The time between the beeps The serial number in the overlay The model text in the overlay The logo and sound A manual toggle key to activate/deactivate the overlay The general overlay scale The date If it works in every view or first person only
A legit copy of Grand Theft Auto V RAGE Plugin Hook
Installation:
1. Copy the files from the .zip into your Grand Theft Auto V\Plugins\ folder.
2. Check the .ini file in Grand Theft Auto V\Plugins\BodyCam\ and adjust the settings and keybinds to your liking.
3. Load the plugin via the RAGE Plugin Hook settings or ingame via the console and enjoy 🙂
How to use the custom logo/sound:
Logo: Place a .png with the logo of your choice (and preferably transparent background) in the Grand Theft Auto V\Plugins\BodyCam\ folder and name the file "custom.png".
Sound: Place a .wav file with the sound of your choice in the Grand Theft Auto V\Plugins\BodyCam\ folder and name the file "custom.wav".
Don't go too crazy with the logo/sound files and keep them as small as possible in terms of file size. Larger sizes might cause issues/crashes.
If you want to stay up to date on the development of my plugins, you can check out my Discord server at the link below.
https://discord.gg/MSW6RPp
If you need help with GTA or LSPDFR you can stop by at our LSPDFR Fans Discord server.
https://discord.gg/HGFwdyB
Disclaimer: We are in no way affiliated with Axon.


.thumb.JPG.feb4613703213941915cc5c38a5ce32d.JPG)


.thumb.jpg.2889d7a514bd9bfe213a23516ba652ad.jpg)


.thumb.png.10ff6e3d22f55410fcf09b8bdd7c08d3.png)

