
Techengage
Members
-
Joined
-
Last visited
Files posted by Techengage
-
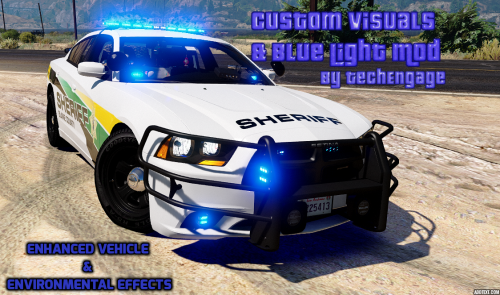
Custom Visuals v.3.5.0 by Techengage
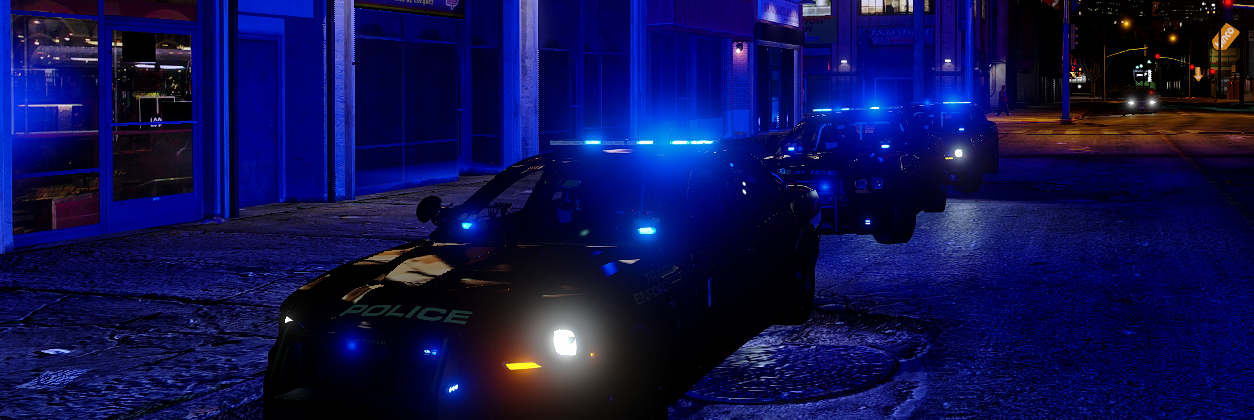
OVER 18K DOWNLOADS! THANK YOU SO MUCH FOR THE SUPPORT, FOLKS!
Custom Visuals is a partial graphics overhaul that makes your game look much more realistic; from police lights to clouds! This Mod increases the ambience of all lighting in the game, makes rain, cloud movement, shadows, and sunlight more realistic, makes motion blur more tolerable, and makes coronas more vibrant and lifelike. This Mod also adds environmental lighting to vehicles, especially emergency lights. You also now have the option to have all blue, all red, and all amber lighting! There are many more things to list, but I just recommend trying it out. After all, it's only two files, not twenty.
This Pack includes two Visualsettings.dat versions, two Carcols.ymt, and a All Blue Lights Template Library. Below is an explanation of each.
Bright makes slight changes to the original game settings, while allowing full use of all police sirens. Use this if Brighter is too much.
Brighter is a complete rework of the original game settings, revamping everything from emergency lights to clouds.
Carcols.ymt is necessary to give vehicle environmental effects and allows you to change light color. One gives fast ELS-style lighting, the other is normal light pattern speeds.
Blue Light Templates is an enormous library of blue/blue lighting templates needed to make vehicle lights blue. Any requests to add to this collection will be granted in a reasonable time period.
BEFORE INSTALLING, MAKE SURE TO CREATE BACK UP FILES. I AM NOT RESPONSIBLE FOR CORRUPT SAVES/FILES. THANK YOU!
PLEASE DO NOT ASK ME HOW TO INSTALL THESE FILES BEYOND THE INSTALLATION INSTRUCTIONS. YOUTUBE & GOOGLE ARE GREAT!
IF YOUR LIGHTS ARE NOT BRIGHT OR ARE WHITE ONLY, MAKE SURE YOUR SHADER QUALITY & POST FX ARE AT LEAST ON HIGH!!
INSTALLATION:
Use Open IV to drop either of the visualsettings.dat files into Mods>Update>Update.rpf>Common>Data
Use Open IV to drop the carcols.ymt file into Mods>Update>Update.rpf>x64>Data
Add the lines in "ADD THESE LINES TO CARVARIATIONS.TXT" to your carvariations.meta (I recommend mpvalentines2, it works for every model). Make sure to change the vehicle name and the sirensettings="" to the corresponding number (14 for all blue fast, 15 for all red, etc)
IF YOU WANT ALL AMBER / ALL RED / ALL BLUE / ALL BLAHBLAHBLAH ENVIRONMENTAL LIGHTING/CORONAS (Must have carcols.ymt installed):
All Amber Lighting: Change your vehicles sirensettings to 17 for LEDs, or 9 for rotary strobes. (Rockstar doesn't support amber LED reflections) All Red Lighting: Change your vehicles sirensettings to 15. Recommended for police add-ons used as fire rescue vehicles. All Blue Lighting (Fast Patterns): Change Sirensettings to 14. Then use the blue light templates to replace files within the .ytd file of any car you want with blue lights only. All Blue Lighting (Fast Patterns, alternate sequences): Change Sirensettings to 20. Lighting has different sequences compared to 14. All Blue Lighting (Slow Patterns): Change Sirensettings to 16. Exactly like 14, but with slower light patterns. Blue & Red Lighting (Fast Patterns): Change Sirensettings to 1. Blue & Red Lighting (Slow Patterns): Change Sirensettings to 19. Blue/Blue Highway Patrol Lighting (Rotary+LEDs): Change Sirensettings to 18, used to give F5544's Highway Patrol pack blue/blue lighting. Can be used with similiar models. Blue/Blue Lighting for Desmond98's LAPD FPIU v.0.7.5: Change Sirensetting to 21. Full credits to @CiscoFanboy for creating this specialized carcols.ymt code line for Desmond98's FPIU. This is absolutely necessary if you want the lighting to work on his newest update! Templates are still the same as previous versions.
TO FIX TAXI & TRAM SIGN ISSUES, PLEASE VIEW README IN "TAXI & TRAM SIGN FIX" FOLDER.
Credits:
Bxbugs123 for the inspiration to work on visualsettings.meta TheGreatHah for the inspiration to learn how to work on carcols.ymt Straitdill, POLICESCO, GravelRoadCop, & PNWParksFan for the sequence numbers. I wouldn't have the new patterns without you guys! HUGE credits to JJDawkins for a large amount of my blue light textures and for teaching/motivating me to start coding GTAV. Razontex for contributing some nice screenshots to show off the awesome lighting.- 33,334 Downloads
- 110 Comments
Updated -
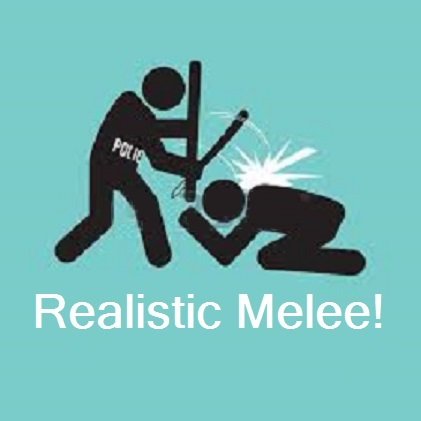
Realistic Melee Mod v.3.7.0
RECOMMENDED FOR LSPDFR ONLY.
Hello, fellow LSPDFR fans. Are you sick of knocking out your prisoner every time you close out of a menu? Does your officer love to pistol whip suspects with a taser and you've simply had enough? Or maybe you've just wondered what it feels like to relentlessly beat an innocent civilian with your PR-24? With Realistic Melee, you can! This Mod makes all melee attacks less-than-lethal, or removes a weapon's melee abilities completely.
Punches and kicks no longer kill people or knock them out in one hit. You can still kill people, but it's very realistic. Nightstick swings no longer subdue targets unrealistically (Have fun! ). When it comes to your duty pistol and taser; they no longer have a pistol whip function! This Mod also includes an add-on to allow you to utilize a non-lethal beanbag/salt shotgun setting!
This is one of my first Mod releases and is a work in progress, so criticize accordingly! I wasn't going to release this; but it worked very well for me, so I wanted to share with everyone. I am open to any suggestions, advice, or constructive criticism. ALSO, please note I am running on a low-end computer, so my screenshots look pretty terrible.
Open the spoiler below to see a small example of the melee attacks with Realistic Melee! Video shot without the "Non-Lethal Shotgun Add-on". Credits to @Lyrad!
DO NOT RE-UPLOAD/REDISTRIBUTE/EDIT WITHOUT PERMISSION AND/OR PROPER CREDITS.
BEFORE INSTALLING, PLEASE MAKE SURE TO CREATE BACK UP .META FILES. I AM NOT RESPONSIBLE FOR CORRUPT GAMES/SAVES/FILES. THANK YOU!
INSTALLATION:
FOR DAMAGES.META
Using Open IV, navigate to:
Grand Theft Auto V> mods > update > update.rpf > common > data > action
Locate and replace damages.meta
FOR WEAPONS.META
Using Open IV, navigate to:
Grand Theft Auto V> mods > update > update.rpf > common > data > ai
Locate and replace weapons.meta
CREDITS:
Lyrad for the demonstration video. Thank you! AkAPs2 for finding the correct damages.meta directory- 16,674 Downloads
- 36 Comments
Updated -
This release is in ALPHA STAGE.
This is a WORK IN PROGRESS.
Made By TechEngage & 420x420
----------------------------------------------------
Download Reshade 3.0 Once it's downloaded, run the .exe. Click select game and select GTA5.exe Now click Direct3D 10+ You'll see a prompt pop-up asking if you want a collection of standard effects. Click yes. Now Reshade is installed. Now download this Preset. Place ComeysPreset.ini into your GTA5 root file. Open the game and let Reshade load. Press Shift + F2 This is where you load the preset. Click continue, then you'll see a red bar. Click the arrow on the red bar and you'll see the presets location. Click it and voila.
Credits:
Crosire for Reshade
420x420 for fill contribution to this Mod
- 168 Downloads
Submitted -
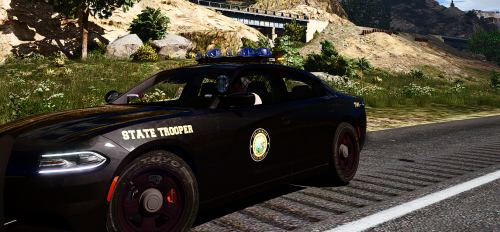
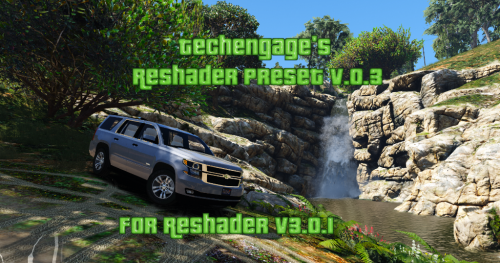
Techengage's Reshade Presets v.0.9 (FOR RESHADE V.3.0+)
IF YOU CAN PROVIDE HD SCREENSHOTS TO SHOW THE TRUE BEAUTY OF THESE PRESETS, PLEASE PM ME!
These are the customized presets I use in my game with Reshade v.3.0.6
Rip the Hell out of my presets, if you want, but PLEASE GIVE CREDITS IF YOU RE-UPLOAD. You don't need to ask; just credit properly.
I RECOMMEND USING THE FOLLOWING SHADERS ONLY (SHIFT+F2 IN-GAME TO OPEN UI MENU).
I have not changed the settings on ANY OTHER SHADER YET, SO I HIGHLY RECOMMEND ONLY USING THE SHADERS PROVIDED IN THE LIST BELOW.
Clarity Colorfulness Curves Levels LumaSharpen Tonemap Vibrance
Installation:
Download Reshade v.3.0 here: http://reshade.me/ Complete the setup and allow the application to automatically download the preset shaders. After everything is done, simply replace the files within your GTAV/reshade-shaders directory. I purposely deleted a few, so don't worry about that. Place grand.ini in your main GTA5 directory and you're good to go.
Credits:
Crosire for Reshade
Bur587 for the awesome screenshots!
- 2,689 Downloads
- 13 Comments
Updated