


EnergeticSheep
Members
-
Joined
-
Last visited
Everything posted by EnergeticSheep
-
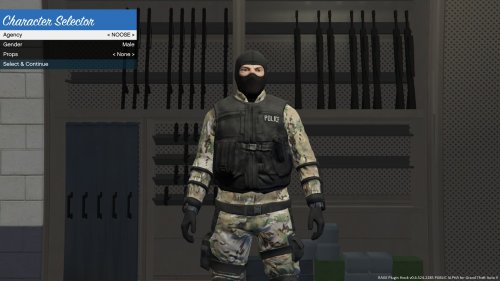
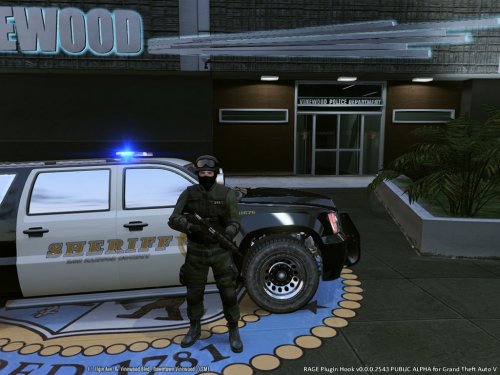 ______ __ _ _____ __ / ____/___ ___ _________ ____ / /_(_)____/ ___// /_ ___ ___ ____ / __/ / __ \/ _ \/ ___/ __ `/ _ \/ __/ / ___/\__ \/ __ \/ _ \/ _ \/ __ \ / /___/ / / / __/ / / /_/ / __/ /_/ / /__ ___/ / / / / __/ __/ /_/ / /_____/_/ /_/\___/_/ \__, /\___/\__/_/\___//____/_/ /_/\___/\___/ .___/ /____/ /_/roductions=-=-=-=-=-=-=-=-=-=-=-=-=-=-=-=-=-=-=-=-=-=-=-=-=-=-=-=-=-=-=-=-=-=-=-=-=-=-=-=-= DISCLAIMER You are not allowed to upload/edit these files without the authors permission. INSTALLATION Using OpenIV, go through the following directories; GTAV > x64e.rpf > models > cdimages > componentpeds_s_m_y.rpf Once in this directory, enable Edit Mode and open "s_m_y_swat_01.ytd" A new tab should open showing multiple textures. In the top left it should say "Import" with a Plus icon, click it. Navigate your way to the Sheriff's Department SWAT pack which you downloaded. Make sure to leave the 'BACKUP' folder untouched as you may need this later. Import "lowr_diff_000_a_uni.png", it should automatically replace its counterpart. If you want the Sheriff Patch on your uniform, open the "With Sheriff Patch" folder and import both files. Alternatively, if you DO NOT want the sheriff patch on your uniform, open the "Without Sheriff Patch" folder and import the file. Close OpenIV and load your game. =-=-=-=-=-=-=-=-=-=-=-=-=-=-=-=-=-=-=-=-=-=-=-=-=-=-=-=-=-=-=-=-=-=-=-=-=-=-=-=-= My first modification for GTA V however I was a low profile modder for GTA San Andreas. If anyone wishes to send me some screenshots of this texture modification in action, send me them via PM and I will display them here. Feedback in the comments section or through PM is very much appreciated. CLICK HERE FOR MOD SHOWCASE
 -
 Nevermind, I got it working - Great mod.
 -
How do I install this in OpenIV? I'm familiar with modding but unsure what location I must put this mod.


